AWS Project:
Deploy a Static Website on AWS
This project involves deploying a web application on AWS using a combination of services. It will include configuring NAT Gateways, Security Groups, an Application Load Balancer (ALB), Route 53, Auto Scaling Groups (ASG), AWS Certificate Manager (ACM), and SSL certificates. The setup will ensure that the application is highly available, secure, and can handle fluctuations in traffic by automatically scaling up or down based on demand. The SSL certificate will be used to encrypt communication between the users and the application. The final setup will enable the users to access the application using a custom domain name via the ALB, which will route traffic to the appropriate instances in the ASG.

Step 1: Build a Three-Tier AWS Network VPC from Scratch
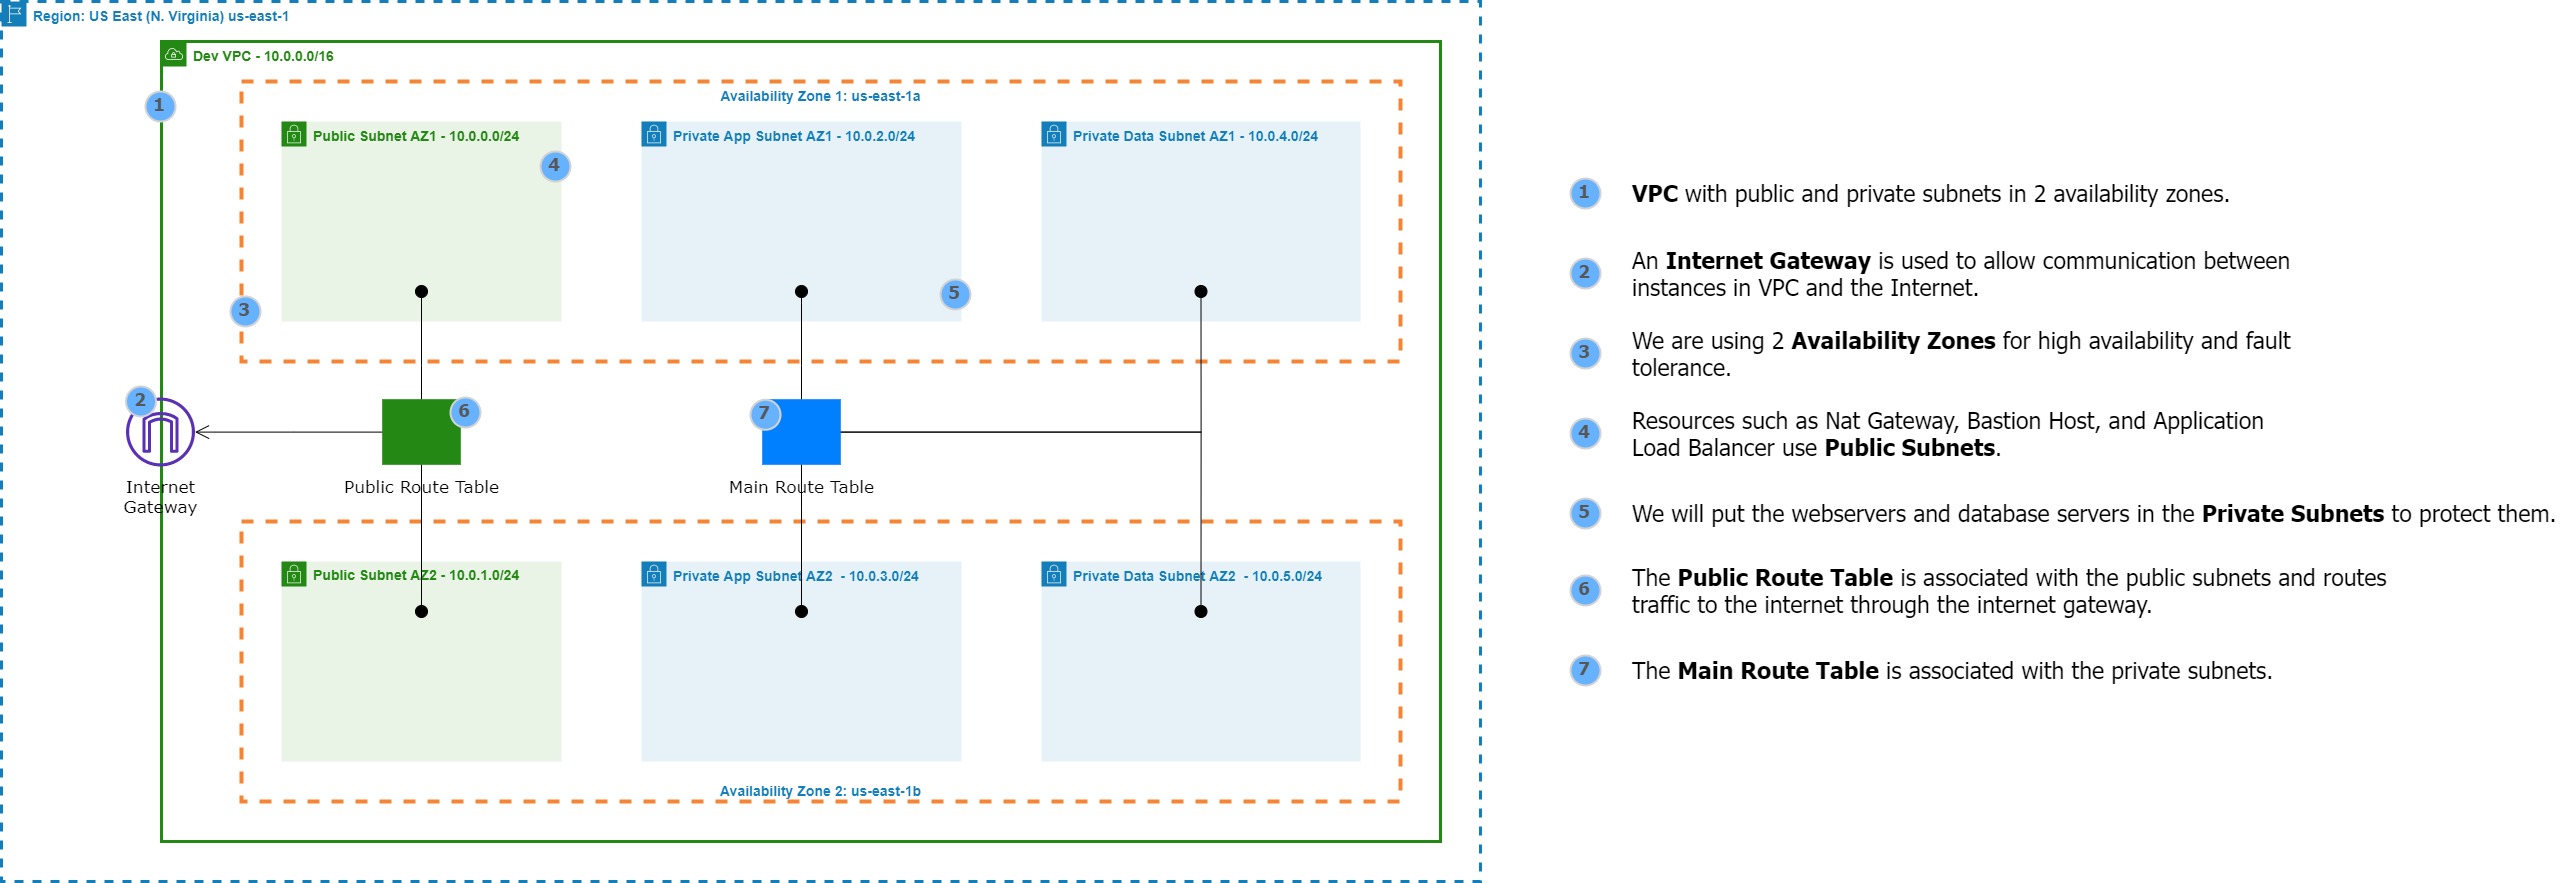
Building a three-tier AWS network VPC from scratch involves creating a Virtual Private Cloud (VPC) from the AWS Management Console, setting up subnets for each tier (public, private, and database (which we will not use in this project)), and configuring routing tables and security groups to ensure traffic flows securely between the tiers. The VPC can then be launched with instances for each tier, and load balancers can be added for high availability and scalability.
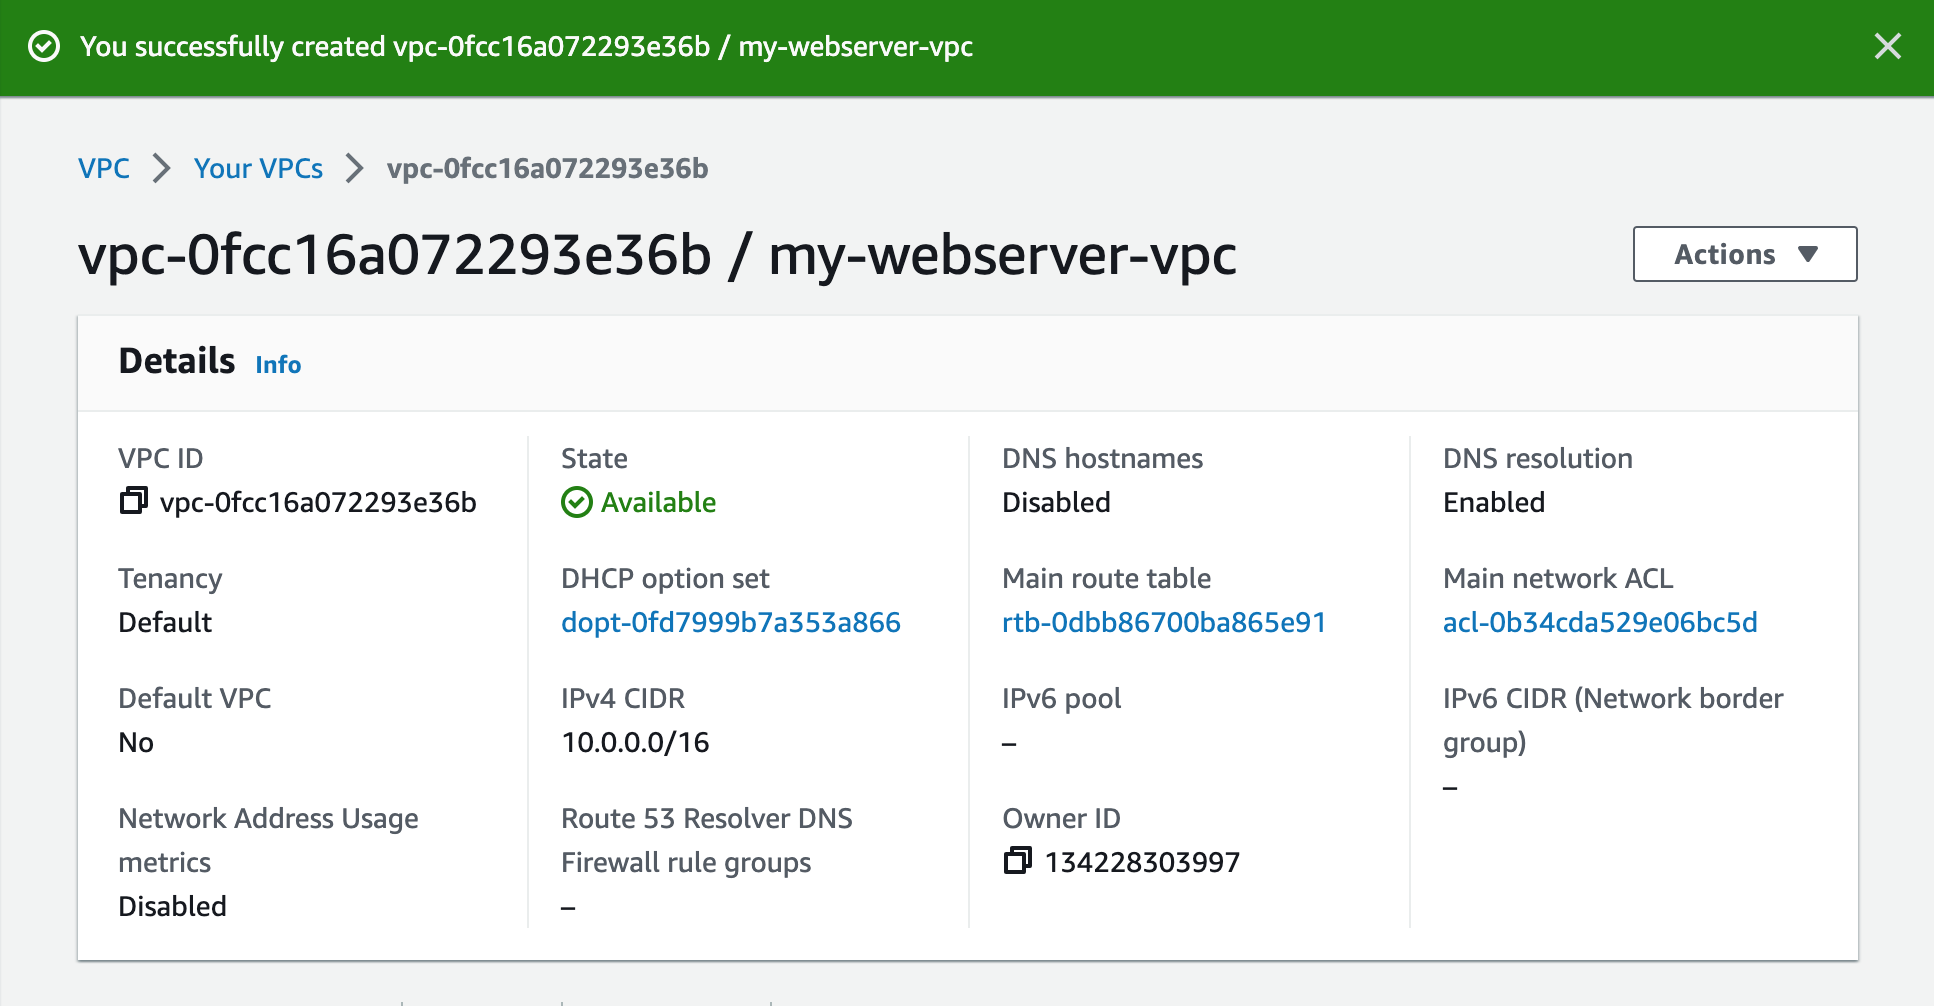
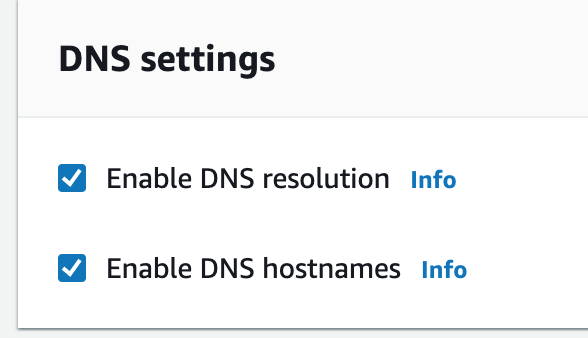
1. Create a new VPC using the CIDR range from our reference architecture.

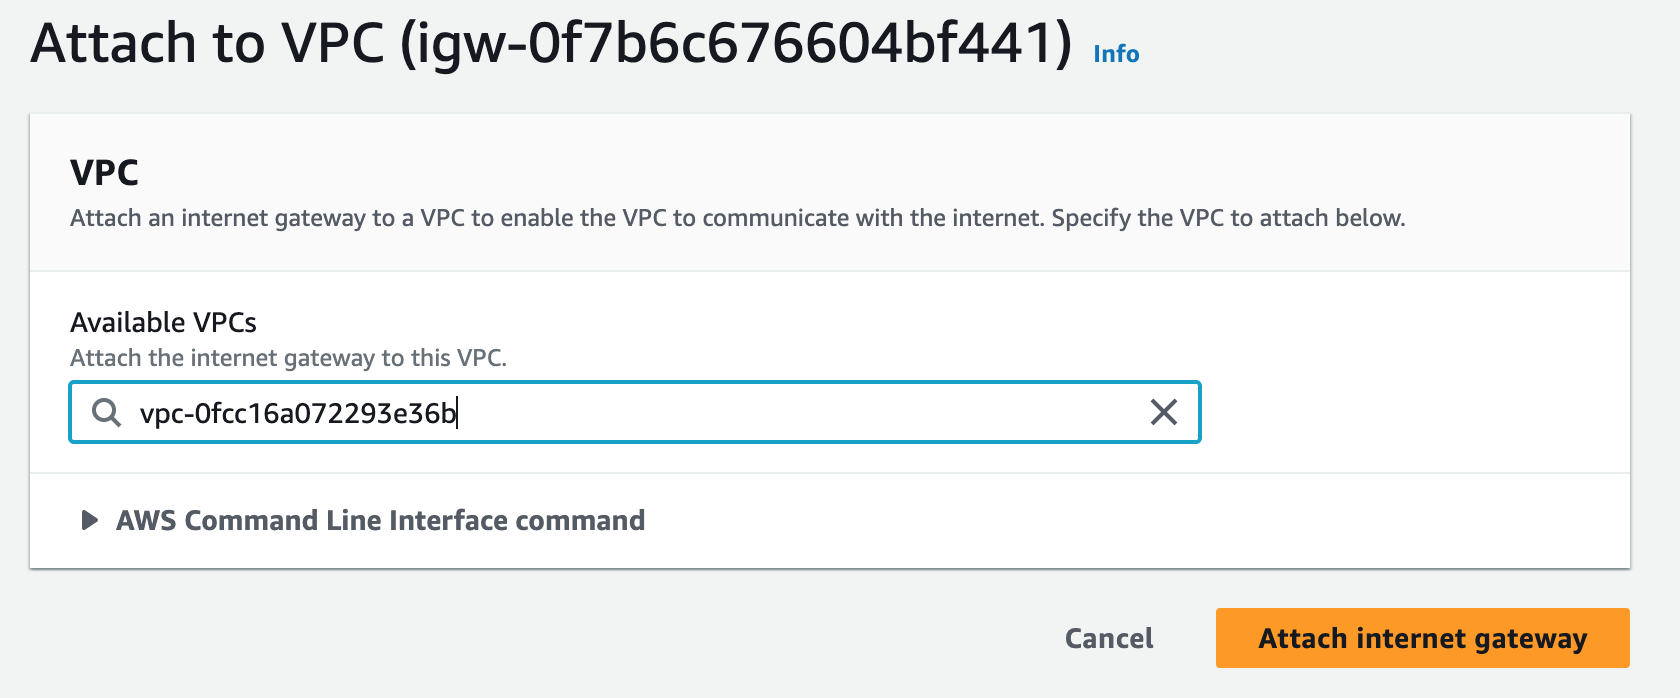


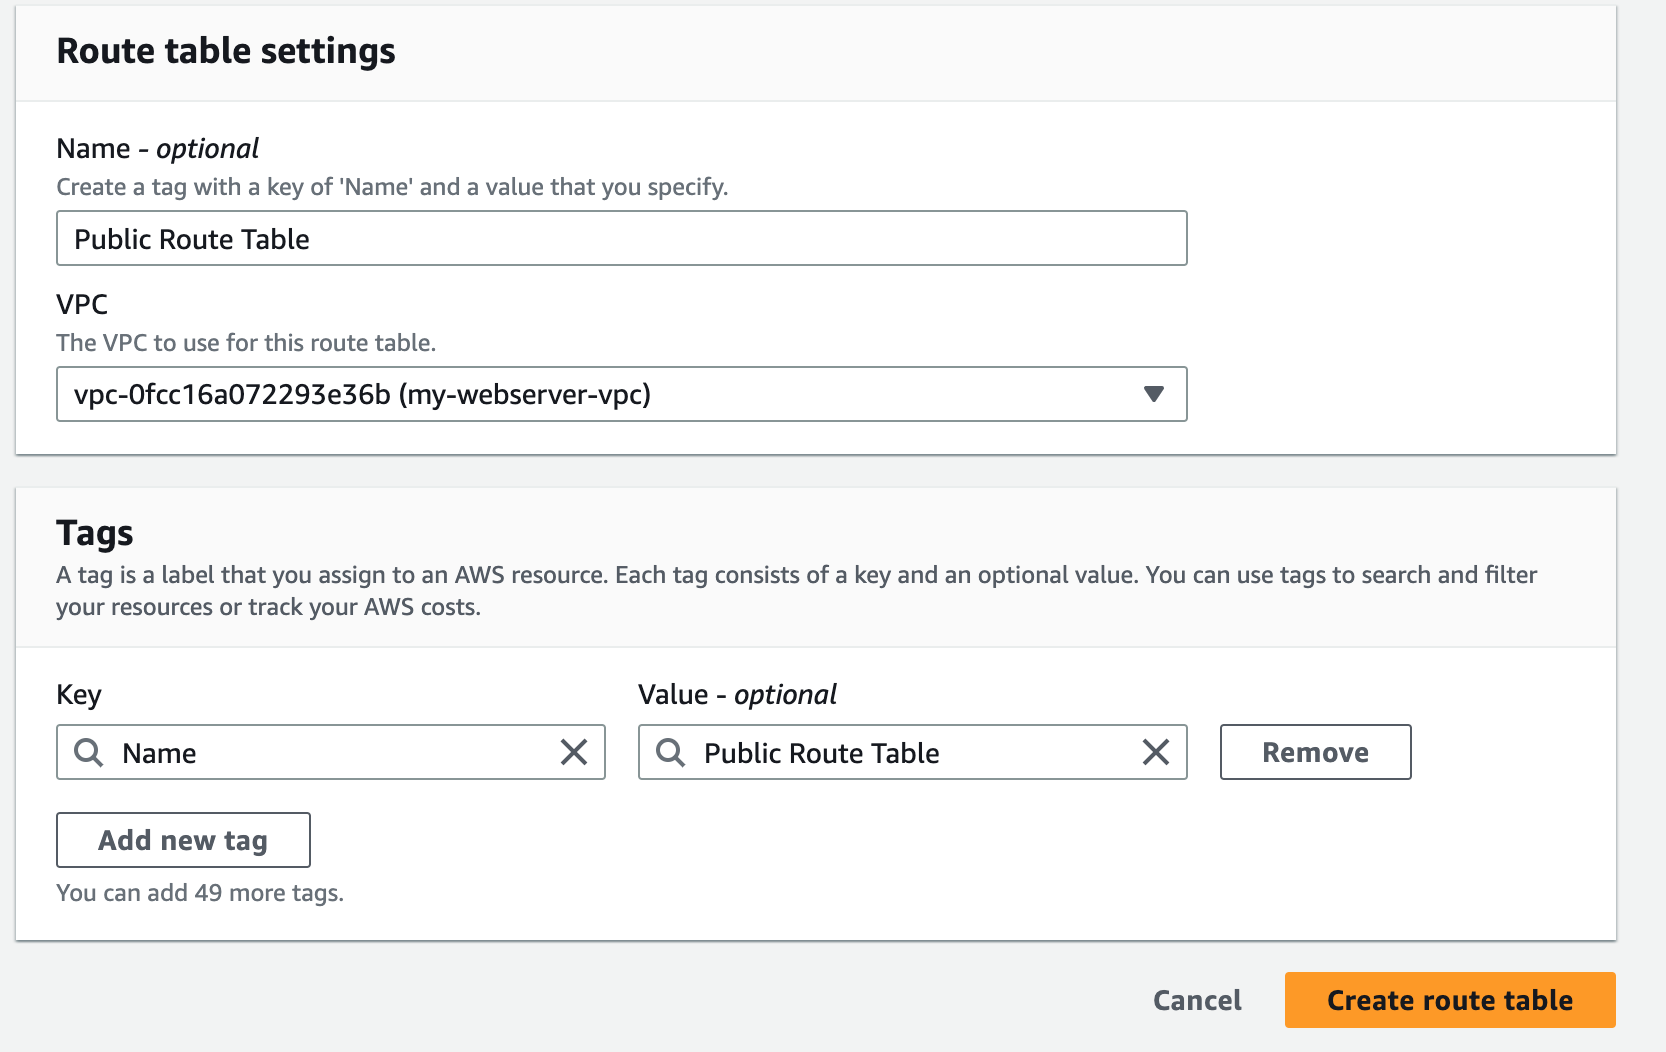

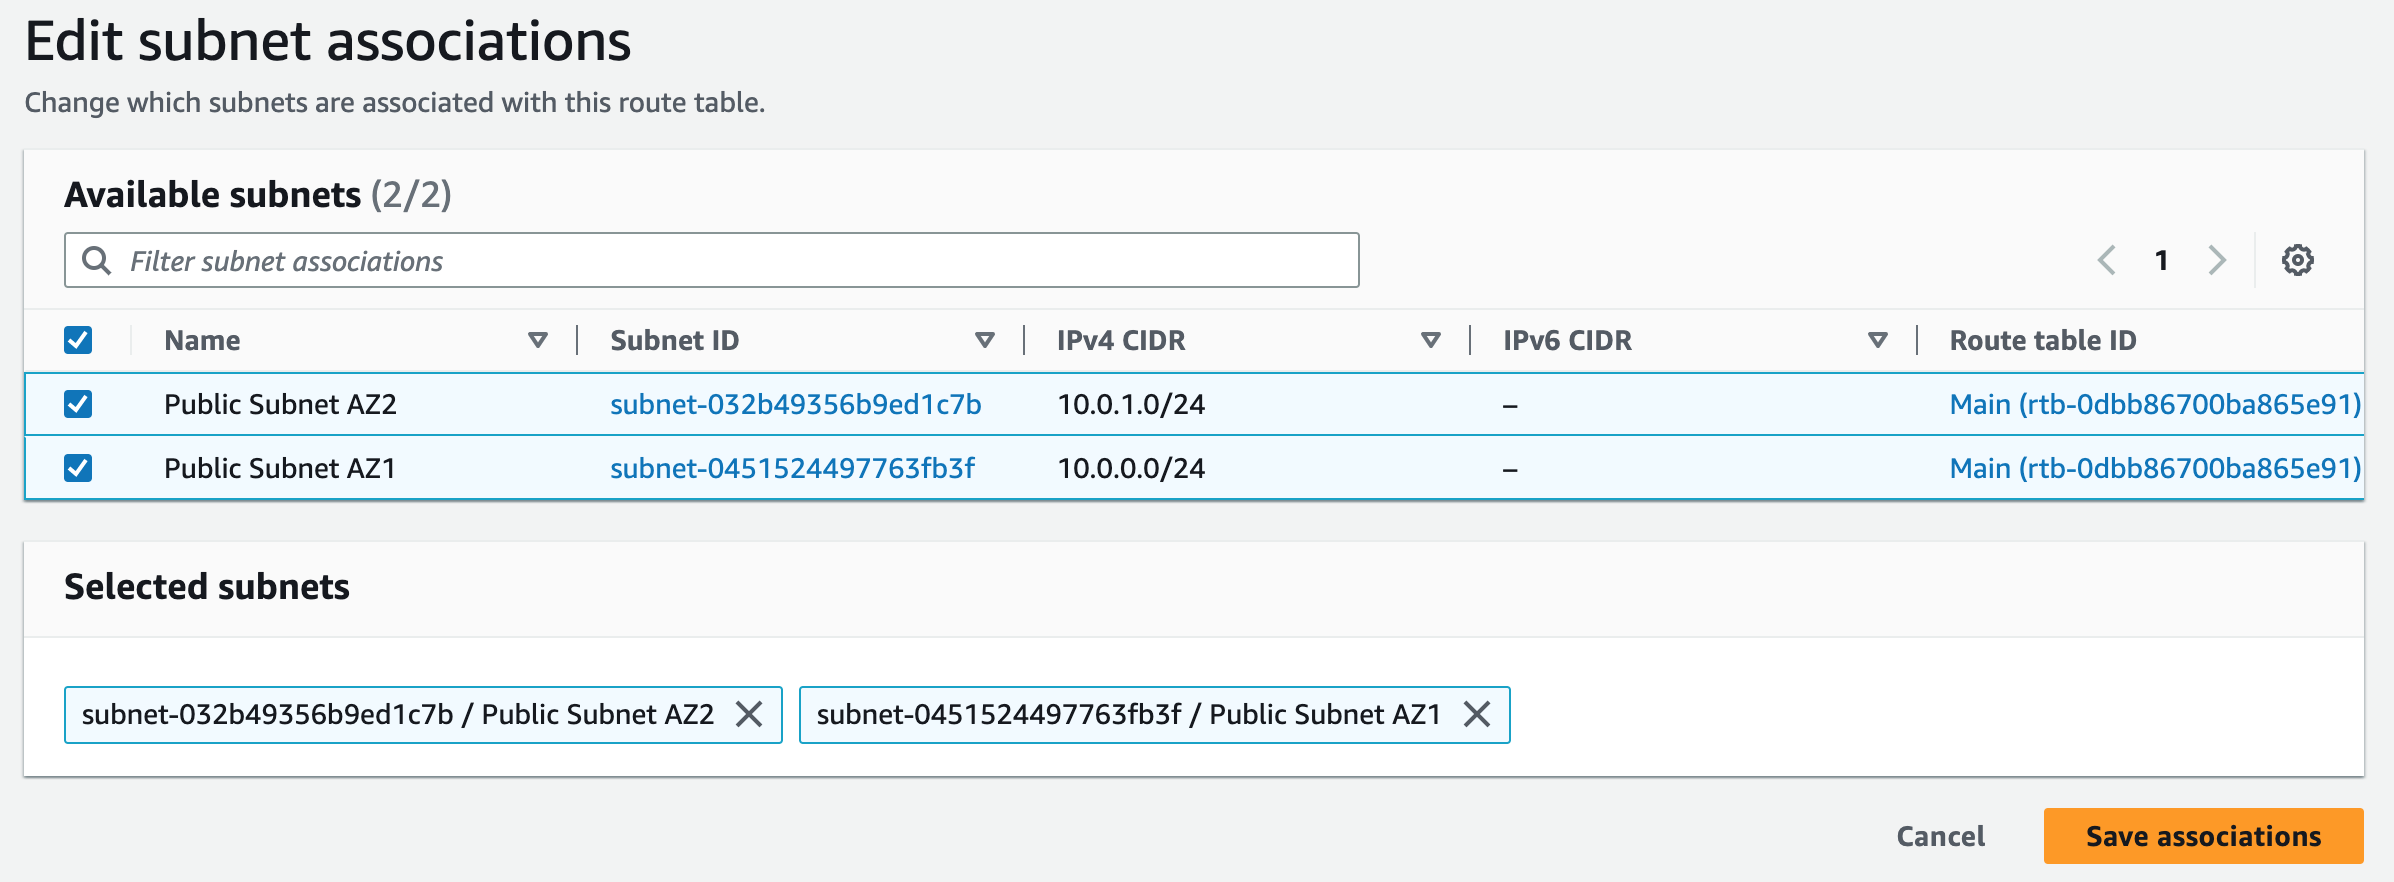
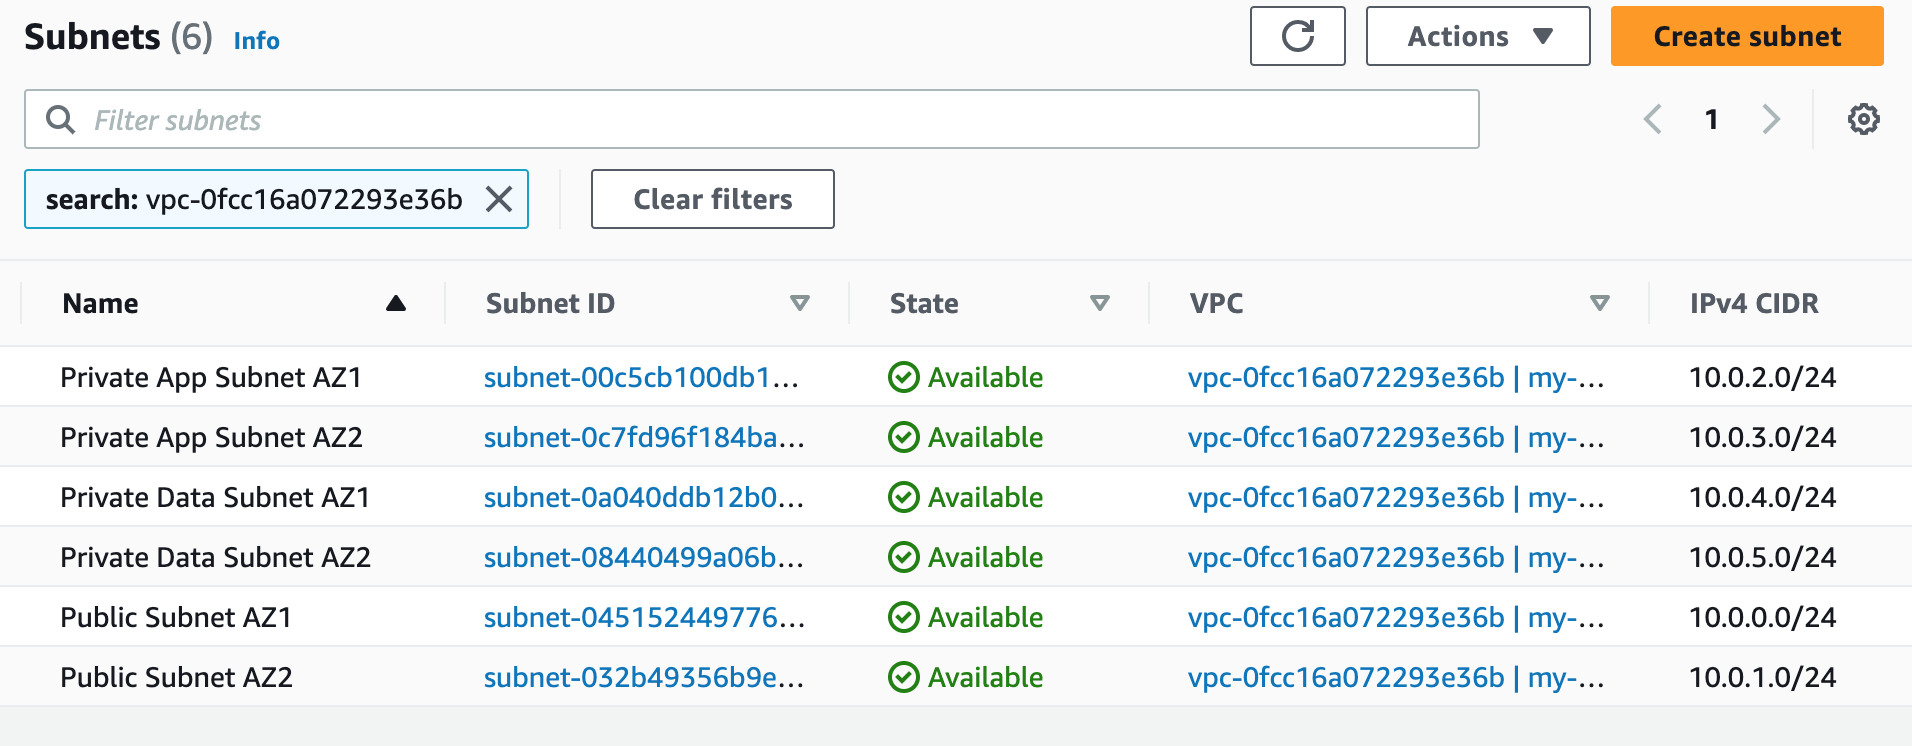
Subnets not associated with a route table default to the Main route table, which is private by default.
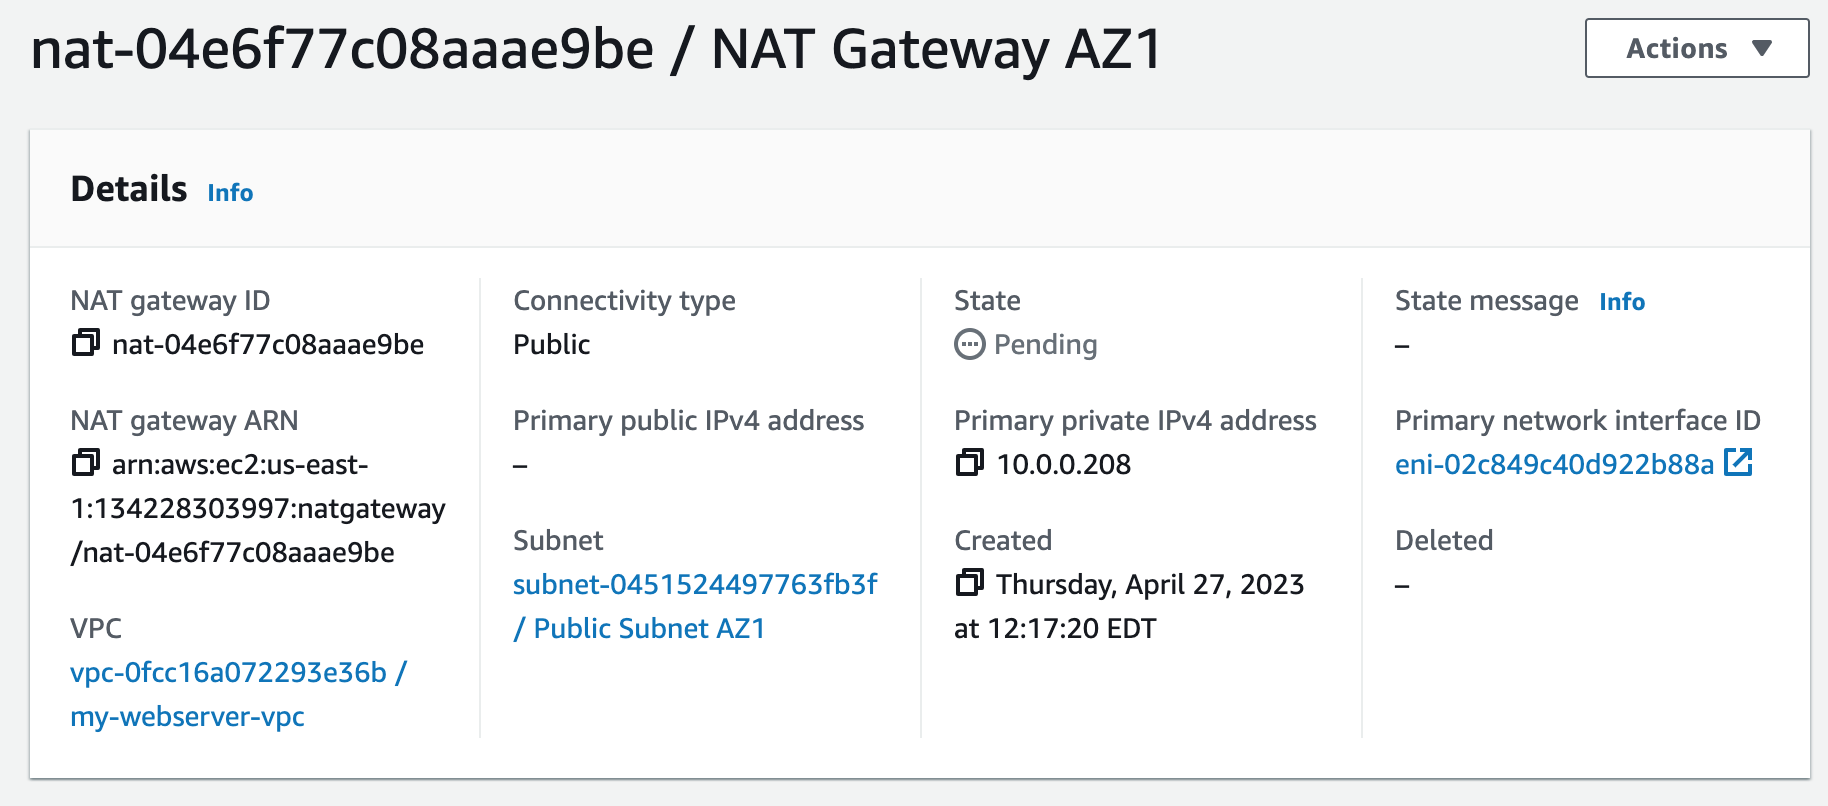
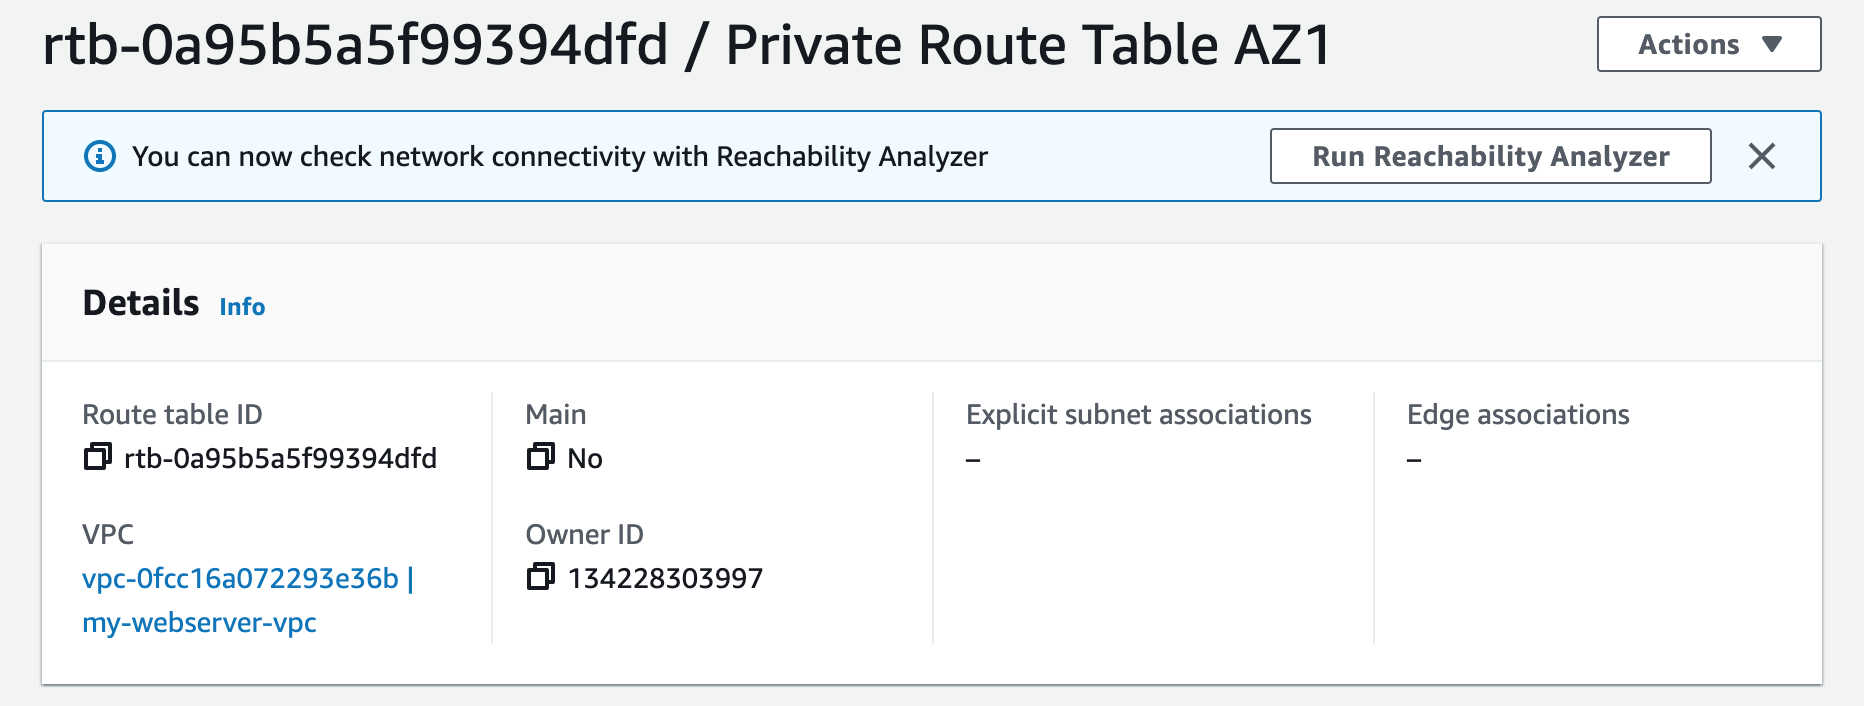
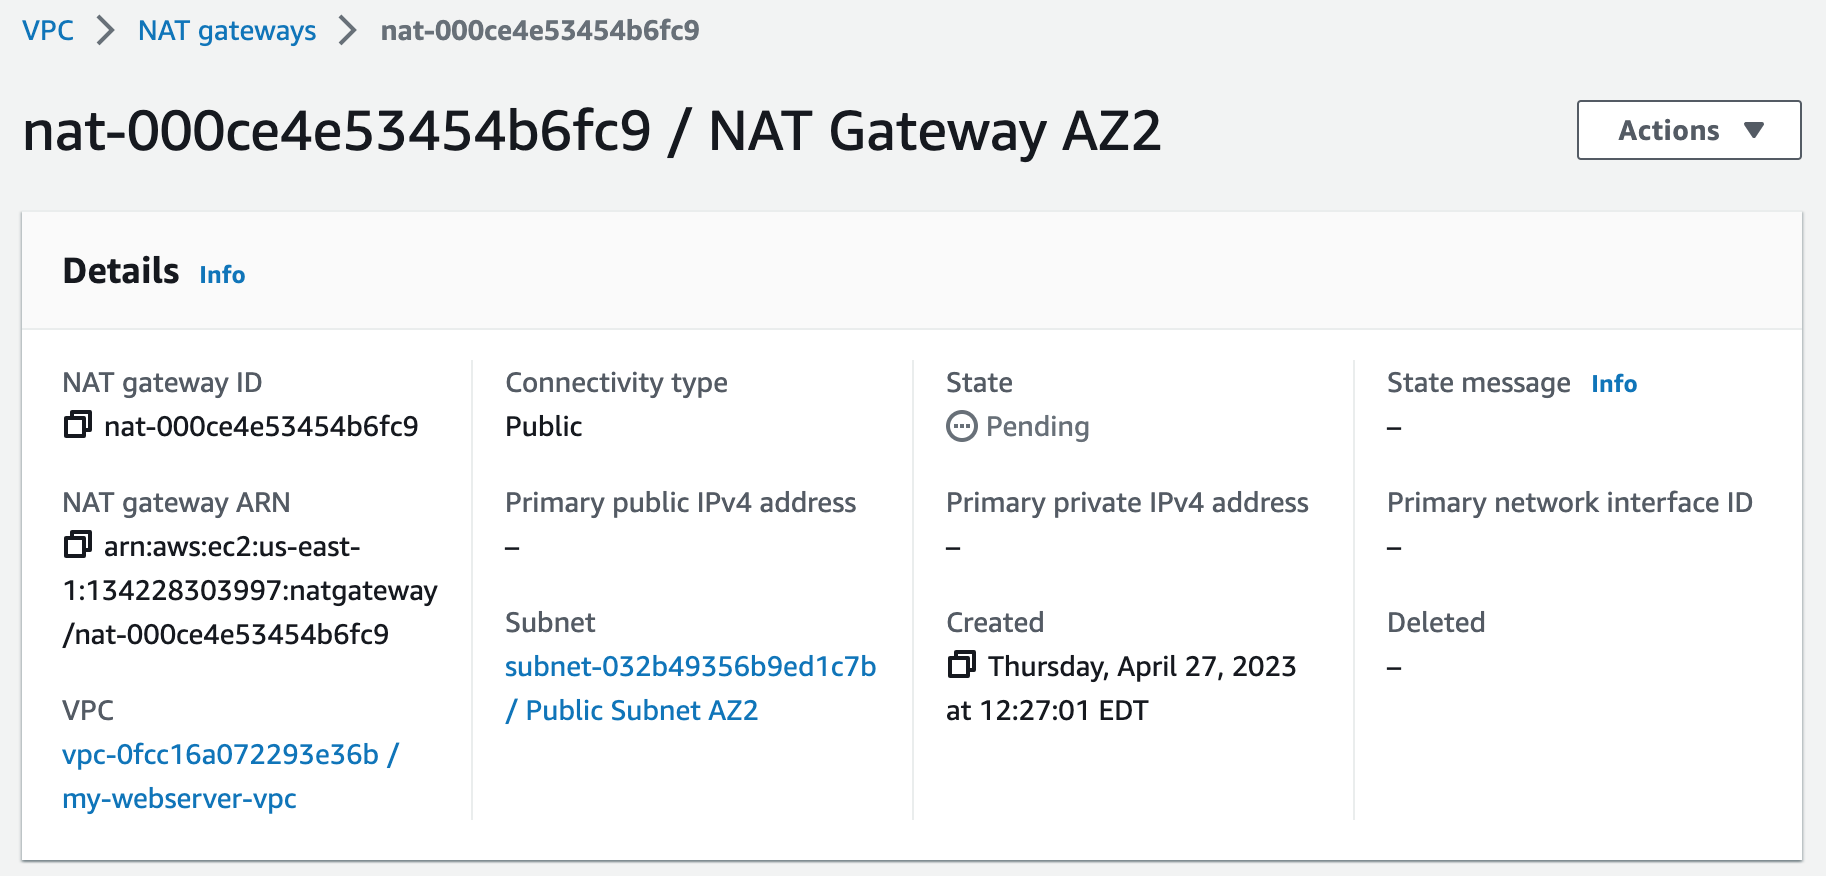
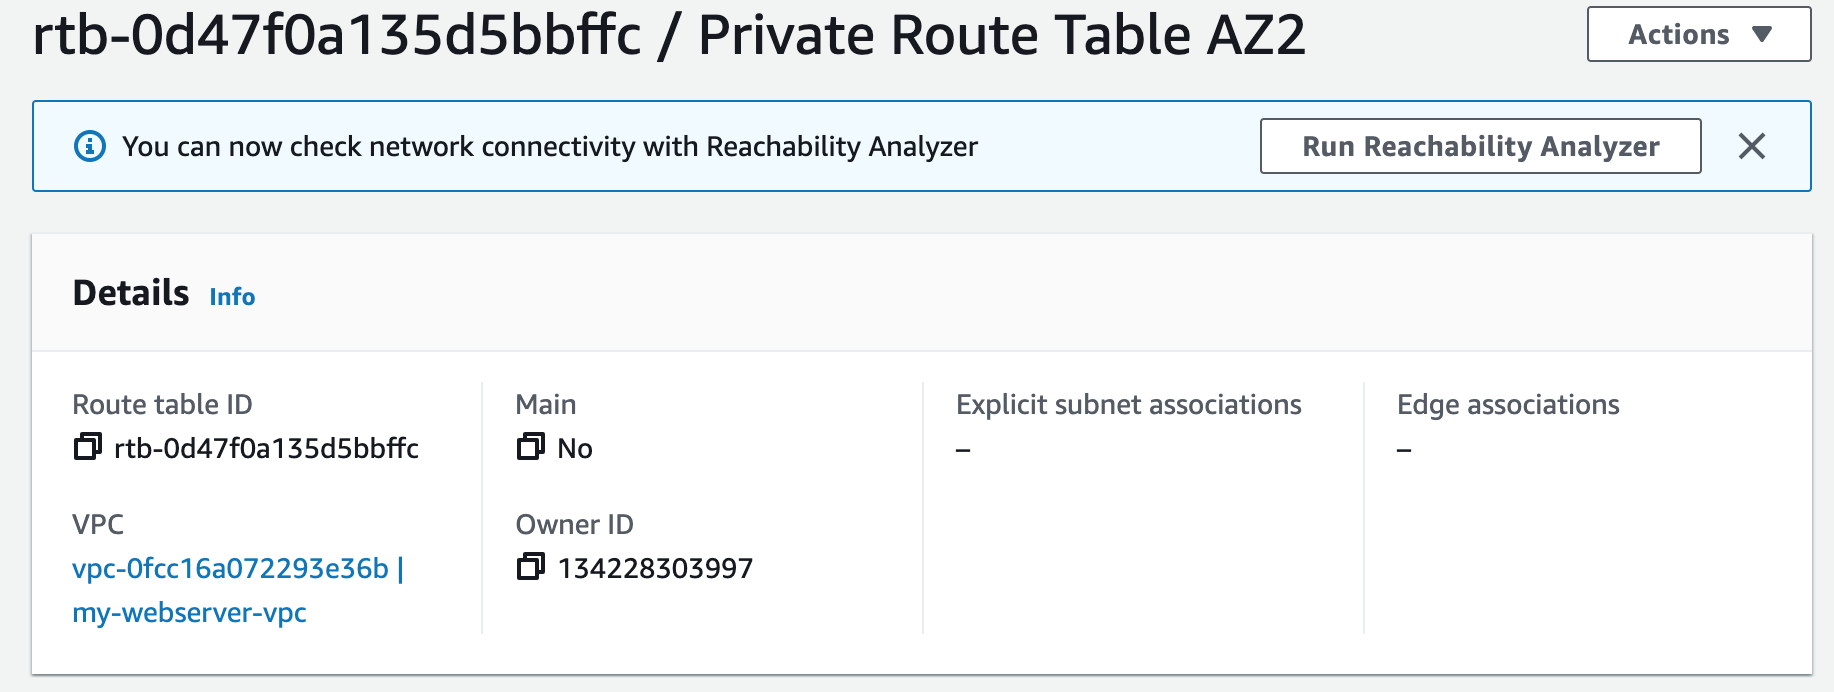
Step 2: Create NAT Gateways
A NAT gateway allows instances in private subnets to securely access the internet or other AWS services, without needing public IP addresses or self-managed NAT.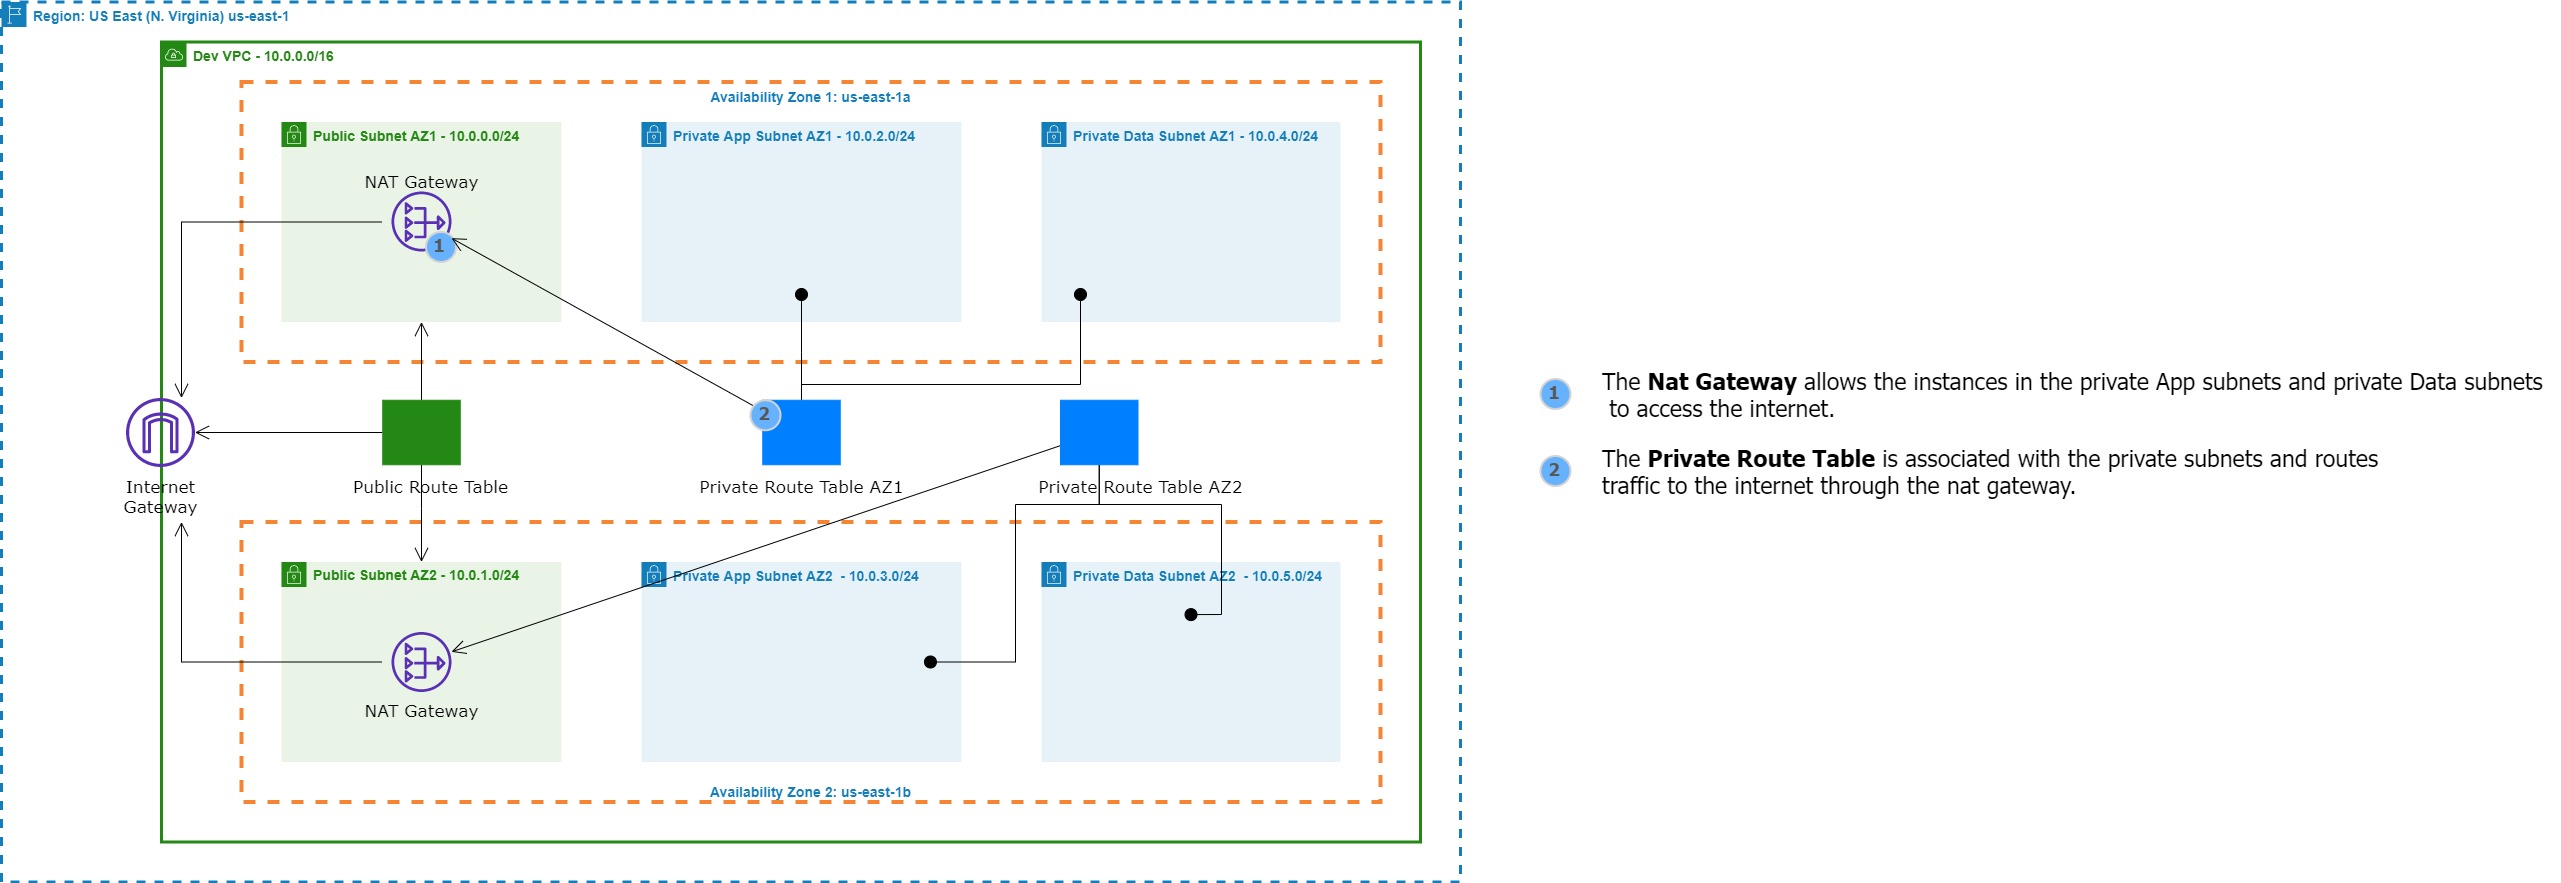




Step 3: Create Security Groups
Security groups control the inbound and outbound traffic for resources in a VPC. They use rules to allow or block traffic based on protocol, IP addresses, and ports. We will create three security groups to control inbound traffic for our webservers.


Step 4: Create an Application Load Balancer
An Application Load Balancer (ALB) is a service that routes incoming traffic to multiple targets based on the content of the request, such as the URL or HTTP header. ALBs operate at the application layer (Layer 7) and support features like SSL/TLS termination, health checks, and content-based routing.


Step 5: Register a New Domain Name in Route 53 and Create a Record Set
We will create a domain name for our website and use Route 53 as a service that helps people find that website on the internet. It will ensure that people can access the website easily and reliably.


Creating a Route 53 alias record for an Application Load Balancer involves mapping the website or application's domain name to the ALB. This directs traffic to the targets behind the ALB. The user must specify the DNS name of the ALB and routing policy when creating the alias record.
Step 6: Register for an SSL Certificate in AWS Certificate Manager
We will use an SSL Certificate to encrypt all communications between the web browser and our webservers. This is also referred to as encryption in transit. Currently we are not secure.


Step 7: Create an HTTPS (SSL) Listener for an Application Load Balancer
Creating an HTTPS (SSL) listener for an ALB involves configuring the ALB to handle SSL/TLS encryption for incoming requests. This requires associating the SSL certificate we created with the ALB's listener configuration. Once configured, the ALB can decrypt and forward incoming HTTPS requests to the appropriate backend target group. 1. Add listener.


Step 8: Create an Auto Scaling Group
An Auto Scaling Group (ASG) is a group of EC2 instances that can automatically scale up or down based on demand. This helps maintain the required number of instances for the application to handle variable traffic loads without downtime or performance degradation.


Step 9: Terminate Resources
To complete this project, we will delete the resources we created to avoid unwanted charges. This includes our ASG, launch templates, ALB, target group, security groups, NAT gateways, VPC, elastic IPs, record sets.


