AWS Project:
Deploy a Dynamic Website on AWS
This project involves building a dynamic website on AWS using a 3-tier VPC architecture with public and private subnets, an Internet Gateway (IG), and NAT Gateways to provide a highly secure network environment. MySQL RDS and Workbench were employed to ensure scalability and high availability of the database. EC2 instances, ALB, ASG, and Route 53 were utilized to ensure high availability and scalability of the website, while S3 was used for storage and backup. IAM Roles were implemented to manage access to the resources, and AMI was utilized to create and launch instances. Finally, SNS and Certificate Manager were used to manage notifications and SSL/TLS certificates, ensuring the security of the website. Project provided by AOSNote.

Step 1: Build a Three-Tier AWS Network VPC from Scratch

Building a three-tier AWS network VPC from scratch involves creating a Virtual Private Cloud (VPC) from the AWS Management Console, setting up subnets for each tier (public, private, and database), and configuring routing tables and security groups to ensure traffic flows securely between the tiers. The VPC can then be launched with instances for each tier, and load balancers can be added for high availability and scalability.
1. Create a new VPC using the CIDR range from our reference architecture.


Subnets not associated with a route table default to the Main route table, which is private by default.
Step 2: Create NAT Gateways
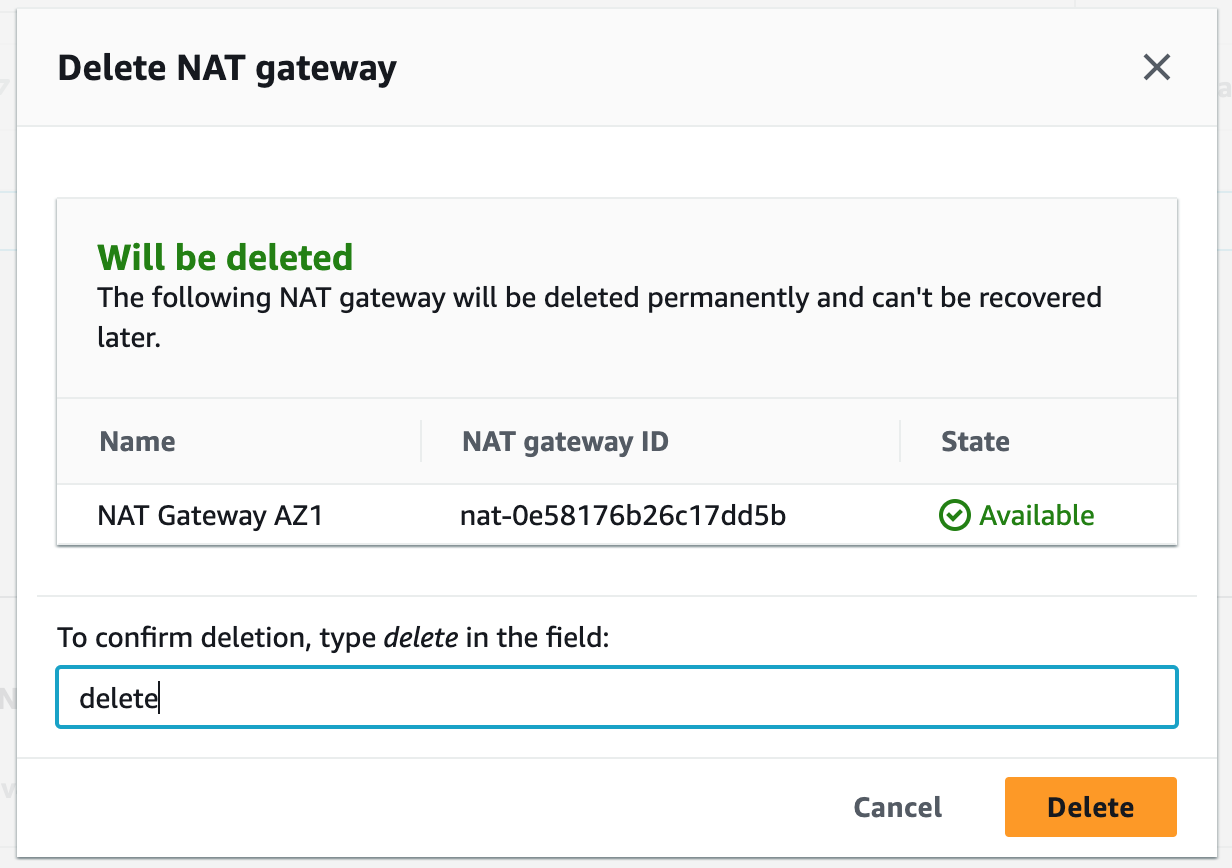
A NAT gateway allows instances in private subnets to securely access the internet or other AWS services, without needing public IP addresses or self-managed NAT.


Step 3: Create Security Groups
Security groups control the inbound and outbound traffic for resources in a VPC. They use rules to allow or block traffic based on protocol, IP addresses, and ports. We will create five security groups to control inbound traffic for our webservers.


Step 4: Launch a MySQL RDS Instance
Amazon Relational Database Service (Amazon RDS) is a fully managed database service provided by AWS that makes it easy to set up, operate, and scale a relational database in the cloud. With Amazon RDS, you can choose from six popular relational database engines, including MySQL, PostgreSQL, Oracle, SQL Server, MariaDB, and Amazon Aurora.In this project, we will use MySQL as our database engine.


Step 5: Create an S3 Bucket and Upload a File
Amazon S3 is a cloud-based storage service that provides users with scalable, reliable, and secure object storage capabilities. We will use it to upload and store our application webfiles.


Step 6: Create an IAM Role for the S3 Policy
An IAM role can be used to allow users or services to assume specific permissions to access S3 buckets. It helps to ensure that only authorized users or services can access the S3 bucket, and data remains secure.

Step 7: Launch the Setup Server
We will now launch the EC2 instance setup server. We will utilize this instance to import the SQL data for our application into the RDS database, and then to install and configure our application. We'll deploy it in the public subnet for ease of installation.


Step 8: Use MySQL Workbench to Import Data into the RDS Database
We will use MySQL Workbench and our Setup Server to import the SQL data for our application into the RDS database. To connect to an AWS RDS instance using MySQL Workbench, we can create a new connection using the "Standard TCP/IP over SSH" method, specifying the appropriate credentials and SSH settings. Once connected, we can manage and administer the RDS instance using MySQL Workbench's graphical interface.


Anytime you have to import data for your application to RDS, this is one method you can use.
Step 9: Install a Dynamic Website on an EC2 Instance LAMP Stack
LAMP stands for Linux operating system, Apache web server, MySQL database, and PHP programming language. Using an EC2 Instance LAMP stack, we can quickly and easily deploy and run web applications that require a dynamic server-side scripting language such as PHP, as well as a powerful and scalable database management system such as MySQL.Now we'll use the Setup Server to install and configure our website.


Step 10: Create an AMI
Now that we've finished using our Setup Server instance to install and configure our web application, we can stop it and create an Amazon Machine Image (AMI) from it. This AMI can be used to launch new instances with the same configuration and settings as the original instance, making it easier to replicate the web application environment.


Step 11: Create an Application Load Balancer
An Application Load Balancer (ALB) is a service that routes incoming traffic to multiple targets based on the content of the request, such as the URL or HTTP header. ALBs operate at the application layer (Layer 7) and support features like SSL/TLS termination, health checks, and content-based routing.


Step 12: Register a New Domain Name in Route 53 and Create a Record Set
We will create a domain name for our website and use Route 53 as a service that helps people find that website on the internet. It will ensure that people can access the website easily and reliably.


Step 13: Register for an SSL Certificate in AWS Certificate Manager
We will use an SSL Certificate to encrypt all communications between the web browser and our webservers. This is also referred to as encryption in transit.


Step 14: Secure the Website with ACM SSL Certificate
Using the SSL Certificate we just registered, we will secure our website. We will create an HTTPS (SSL) listener for our ALB. This involves configuring the ALB to handle SSL/TLS encryption for incoming requests and requires associating the SSL certificate we created with the ALB's listener configuration. Once configured, the ALB can decrypt and forward incoming HTTPS requests to the appropriate backend target group.1. Add listener.


Our website doesn't look quite right because we are now redirecting traffic from HTTP to HTTPS. We must SSH into our EC2 instance and update one of our configuration files to reflect that change.
Step 15: SSH into an Instance in the Private Subnet
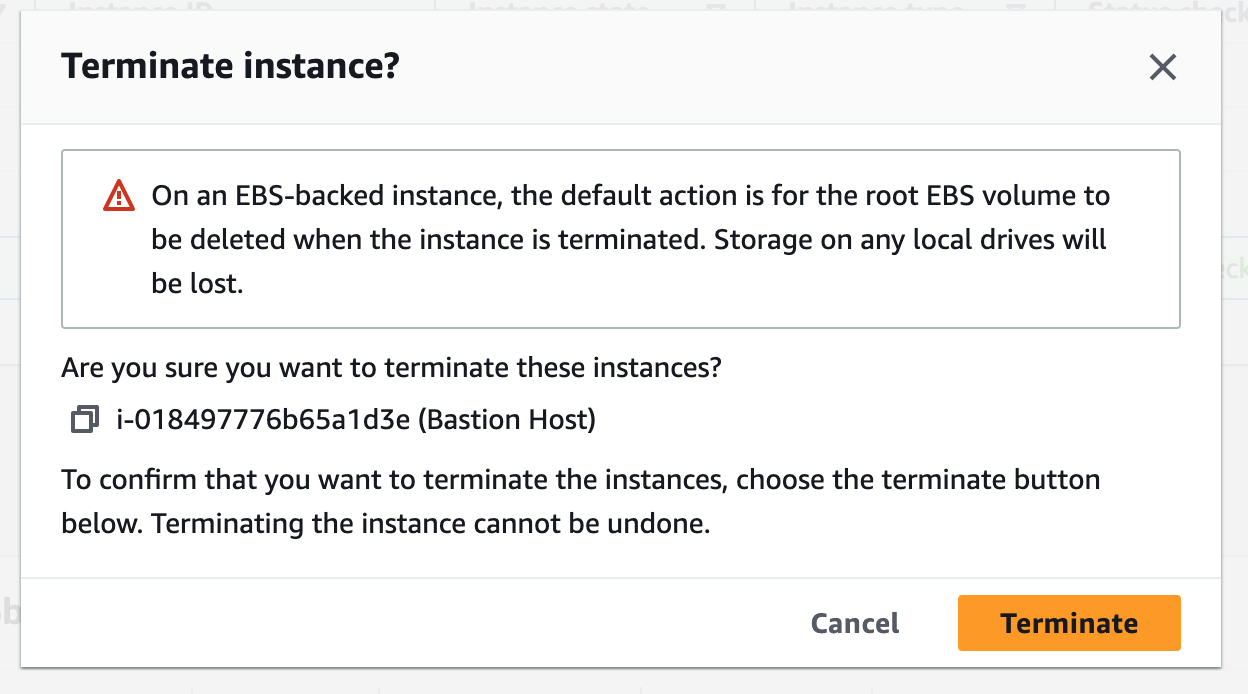
We will now SSH into the EC2 instance in our private subnet to update the configuration file so that our website can load properly. To do so, we'll first have to launch a bastion host.A bastion host is a dedicated server instance used to securely connect to other servers within a private network. It provides an additional layer of security by acting as a gateway that provides access control for remote connections.


Step 16: Create Another AMI
Since we made changes to the configuration files on our instance, we will create a new AMI to reflect those changes.1. Create a new AMI.


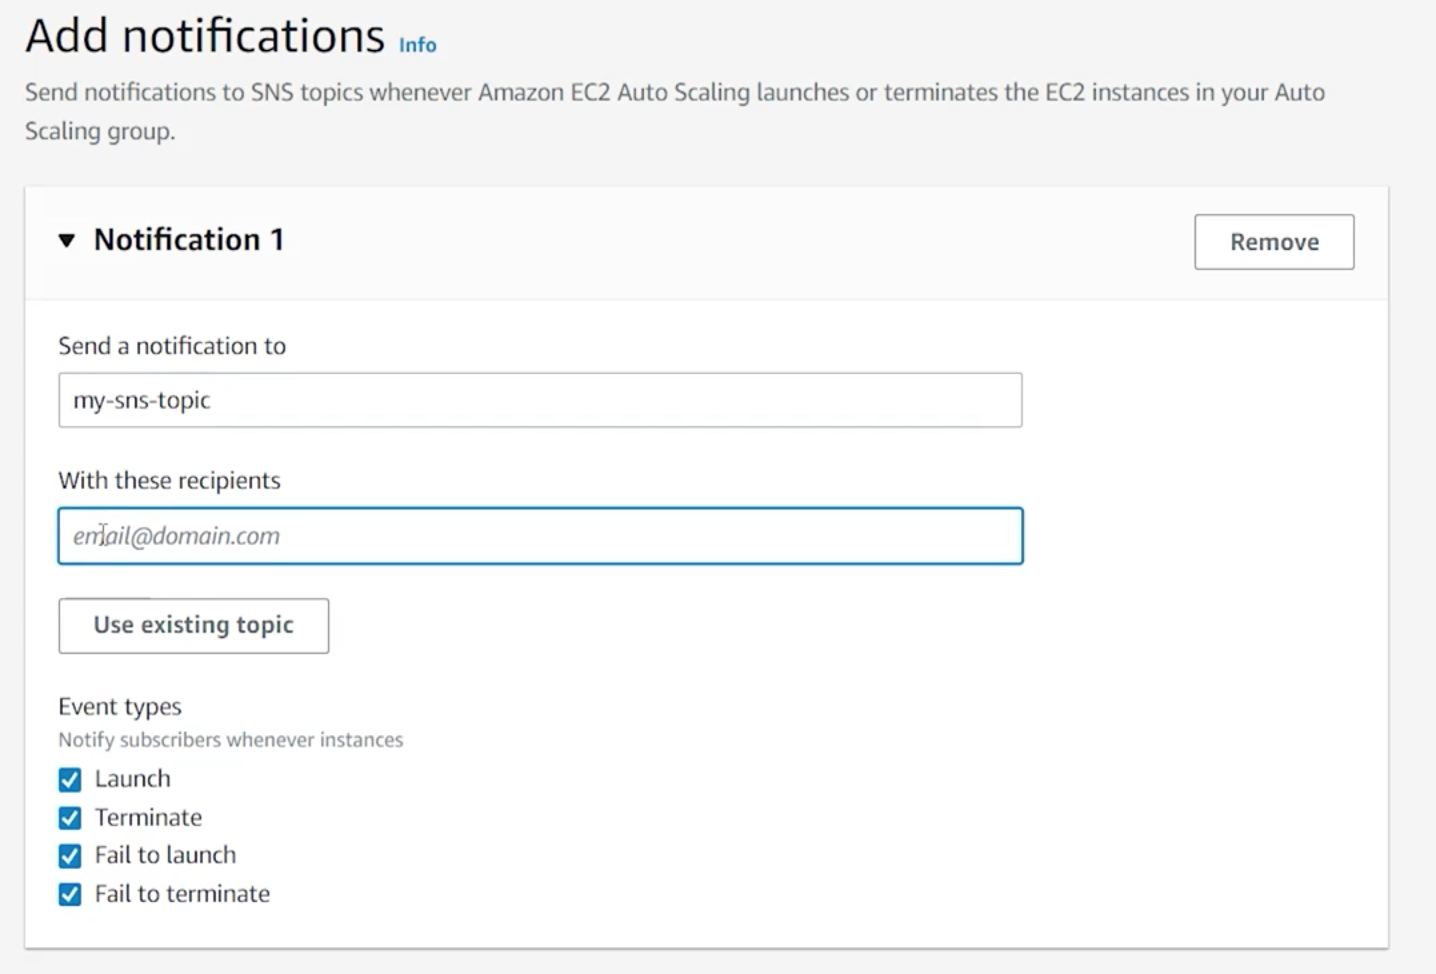
Step 17: Create an Auto Scaling Group
An Auto Scaling Group (ASG) is a group of EC2 instances that can automatically scale up or down based on demand. This helps maintain the required number of instances for the application to handle variable traffic loads without downtime or performance degradation.




Step 18: Terminate Resources
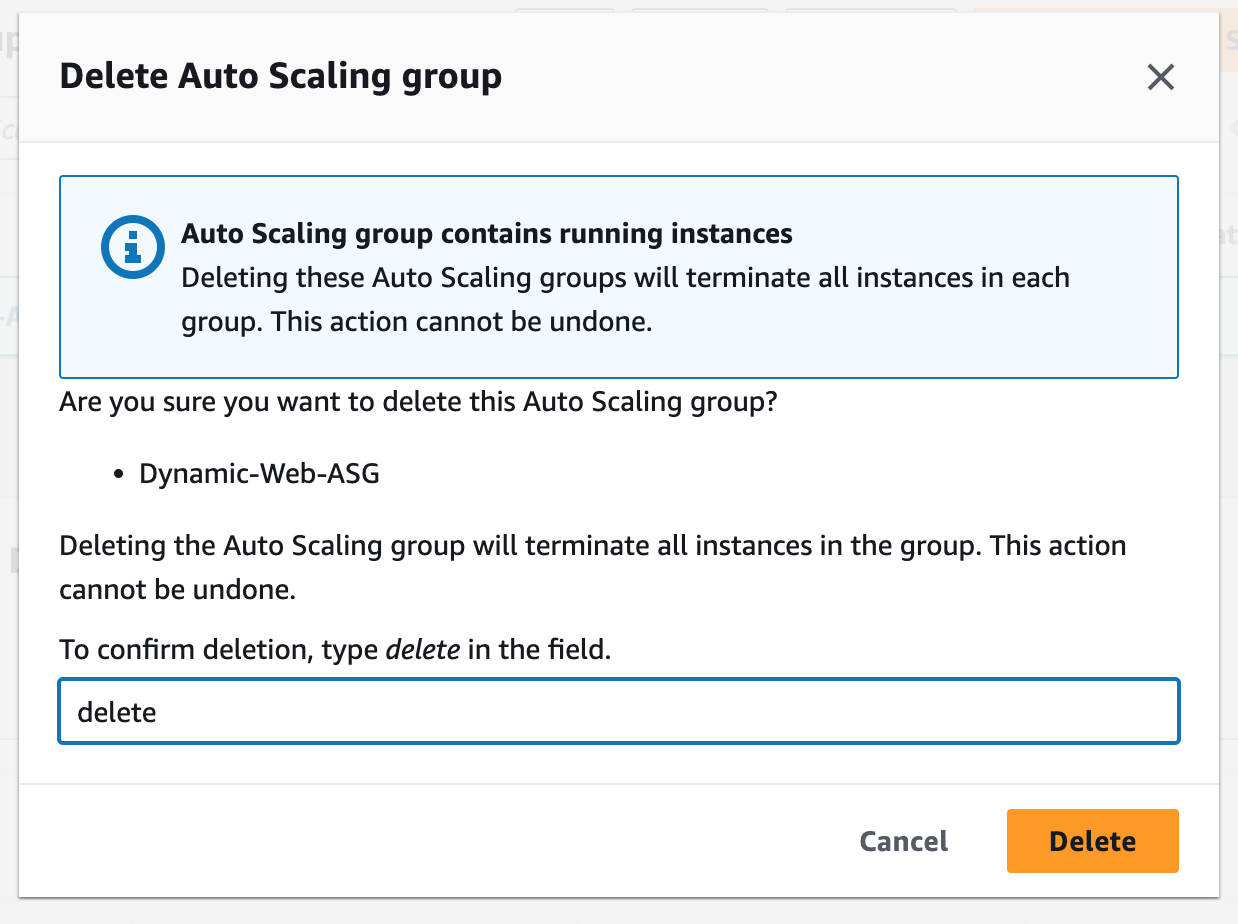
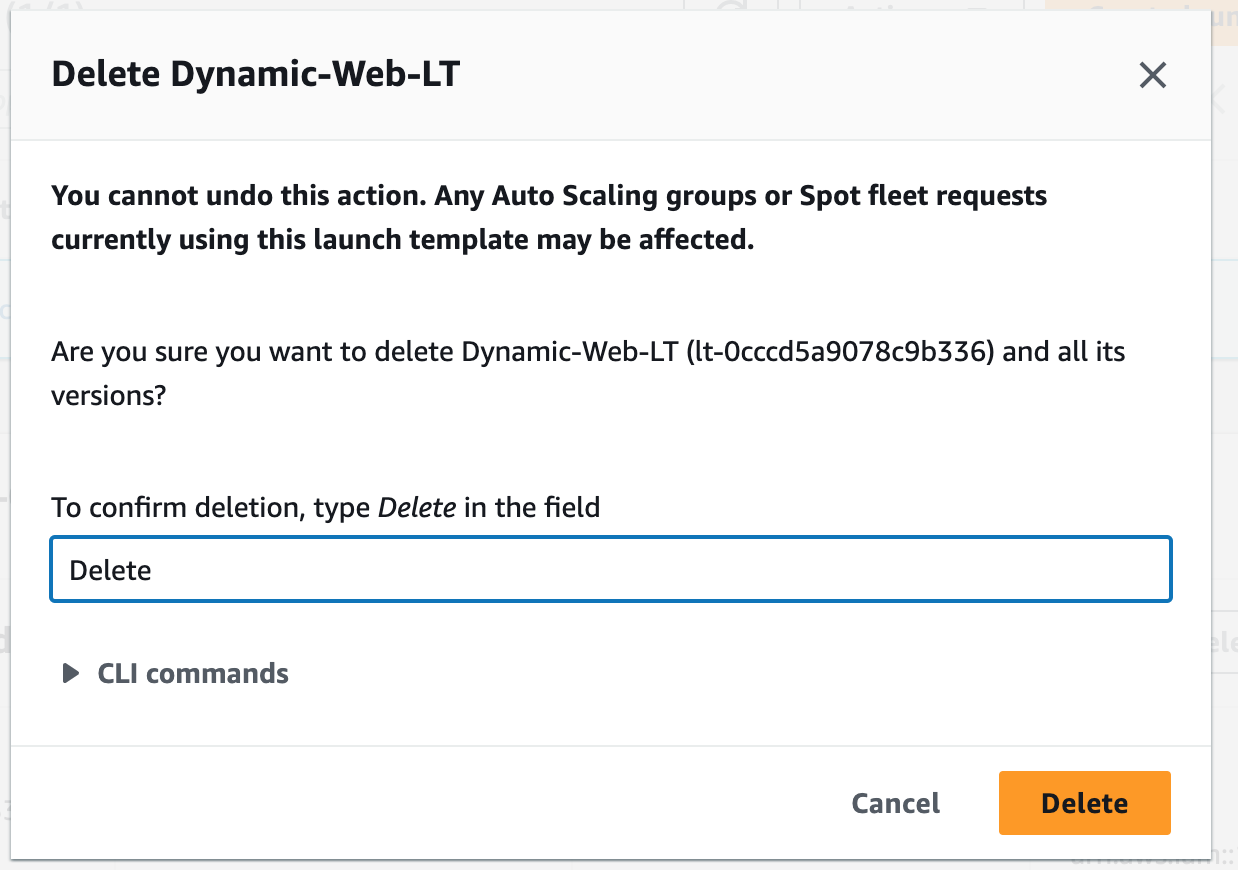
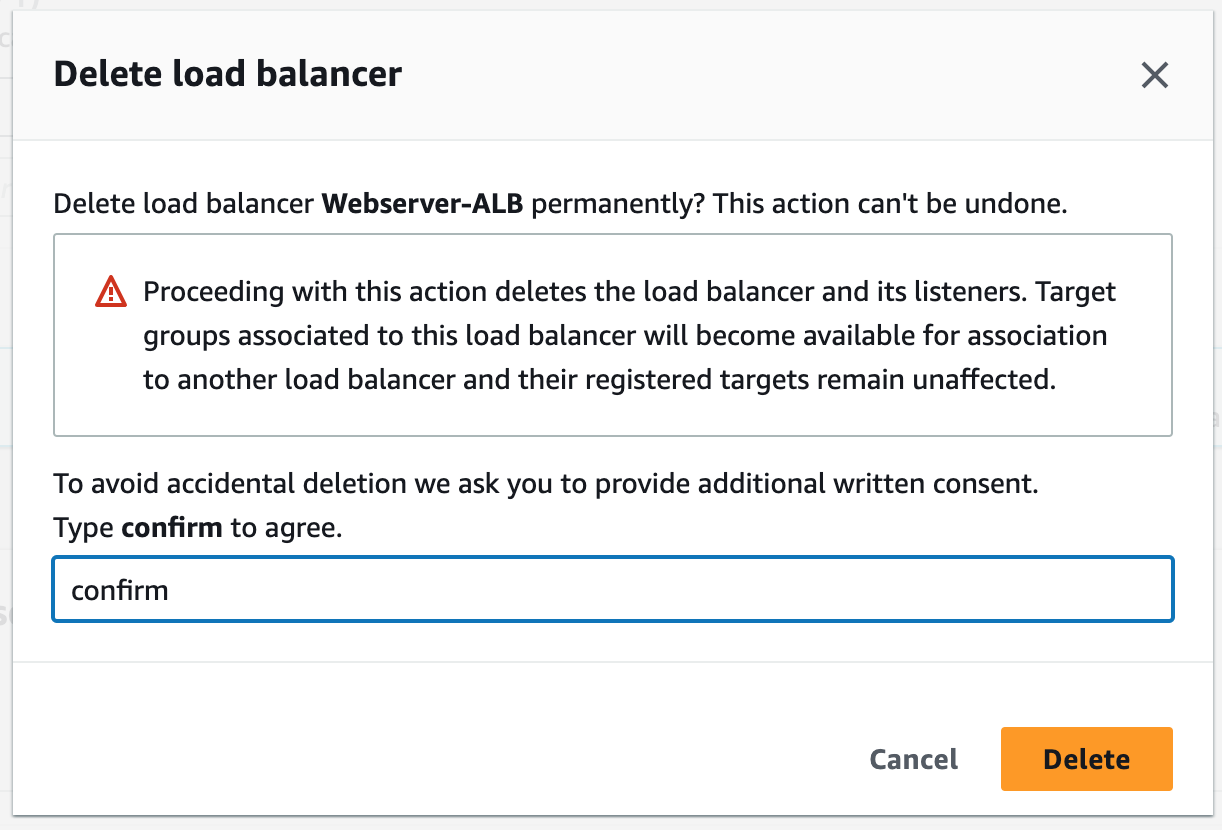
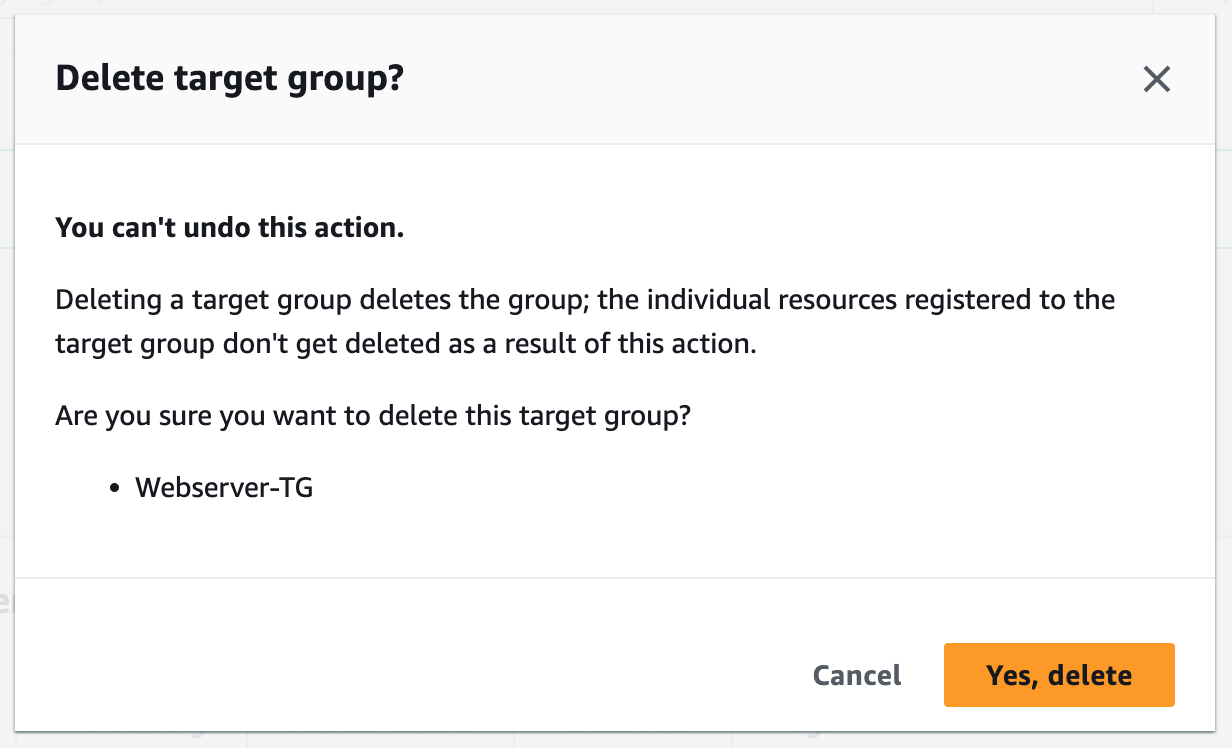
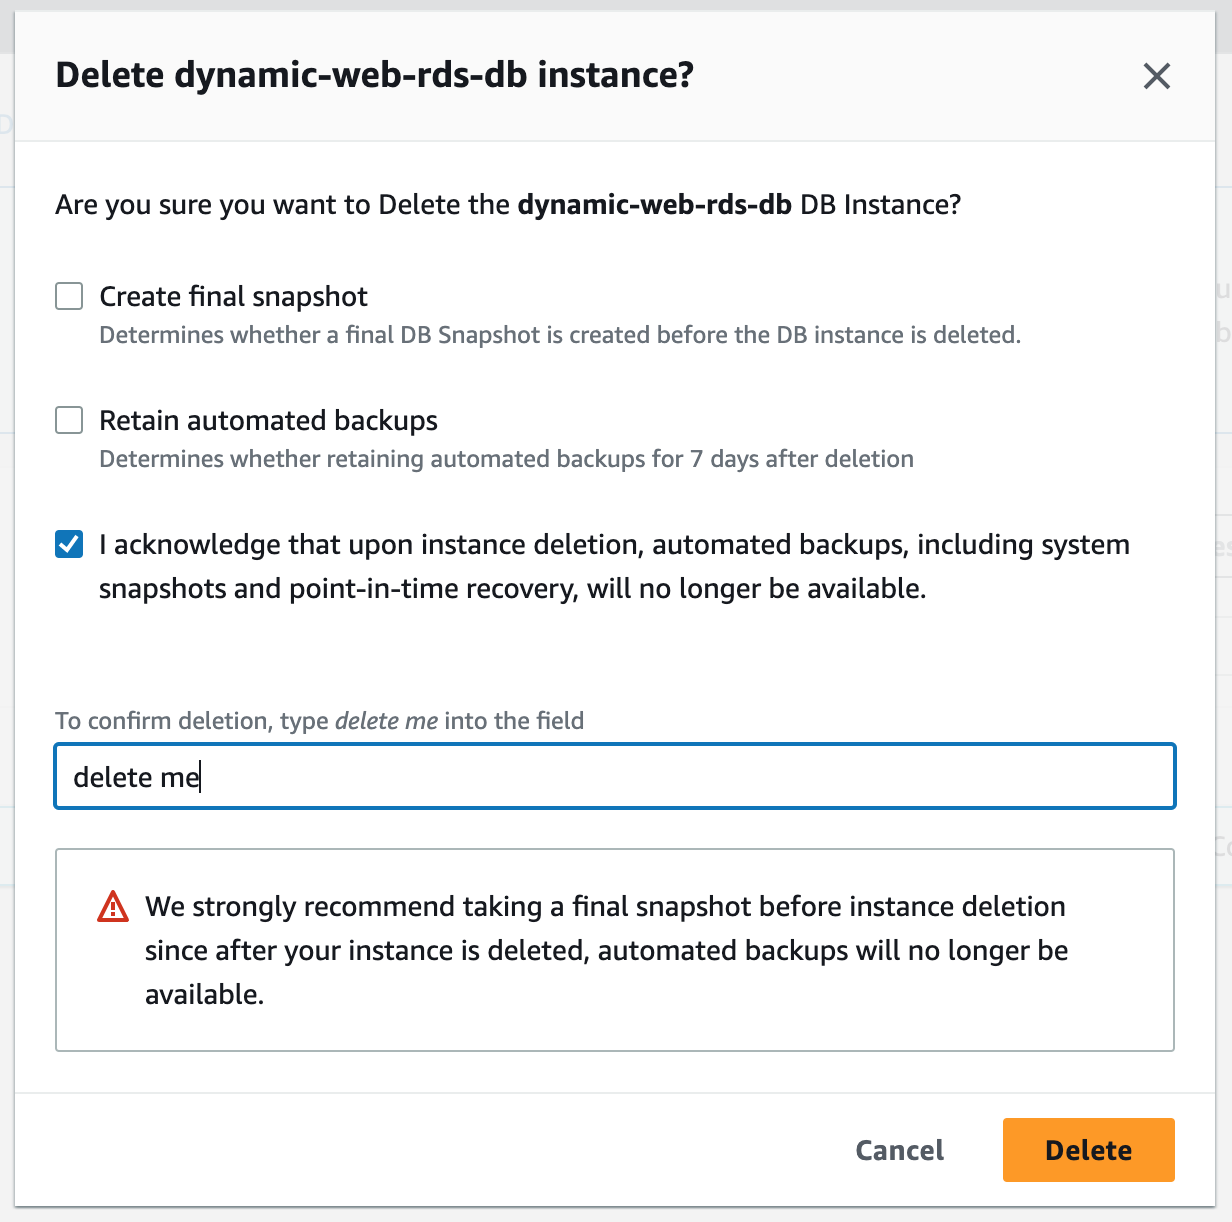
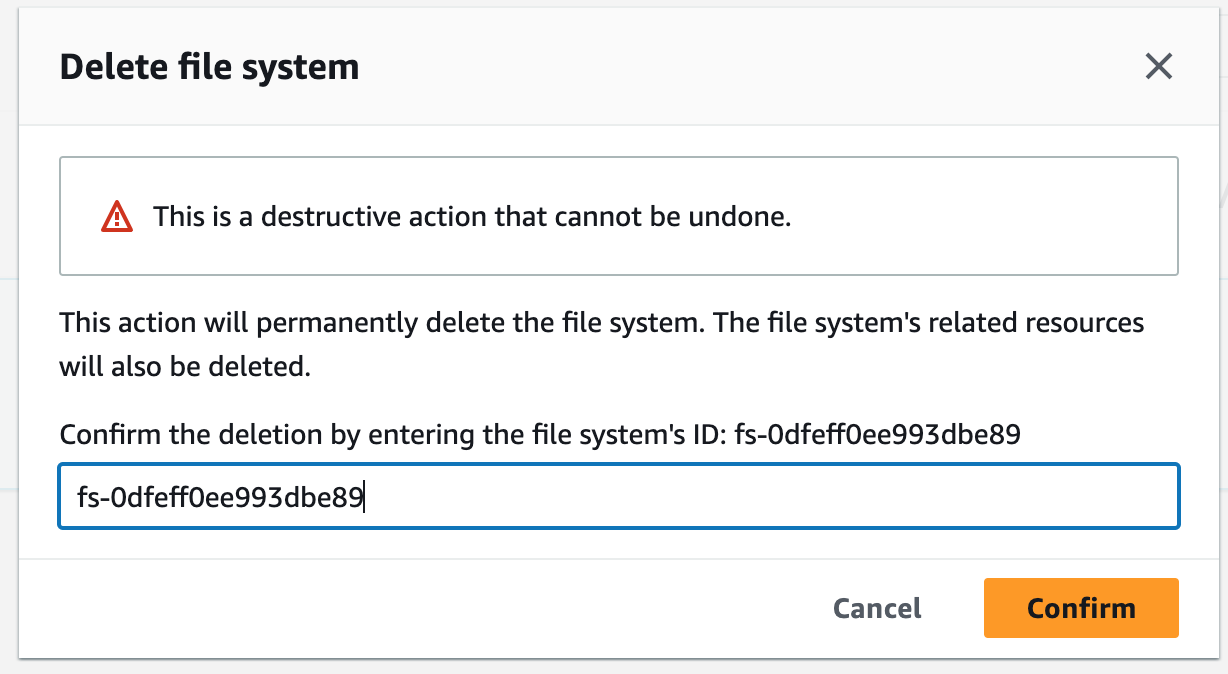
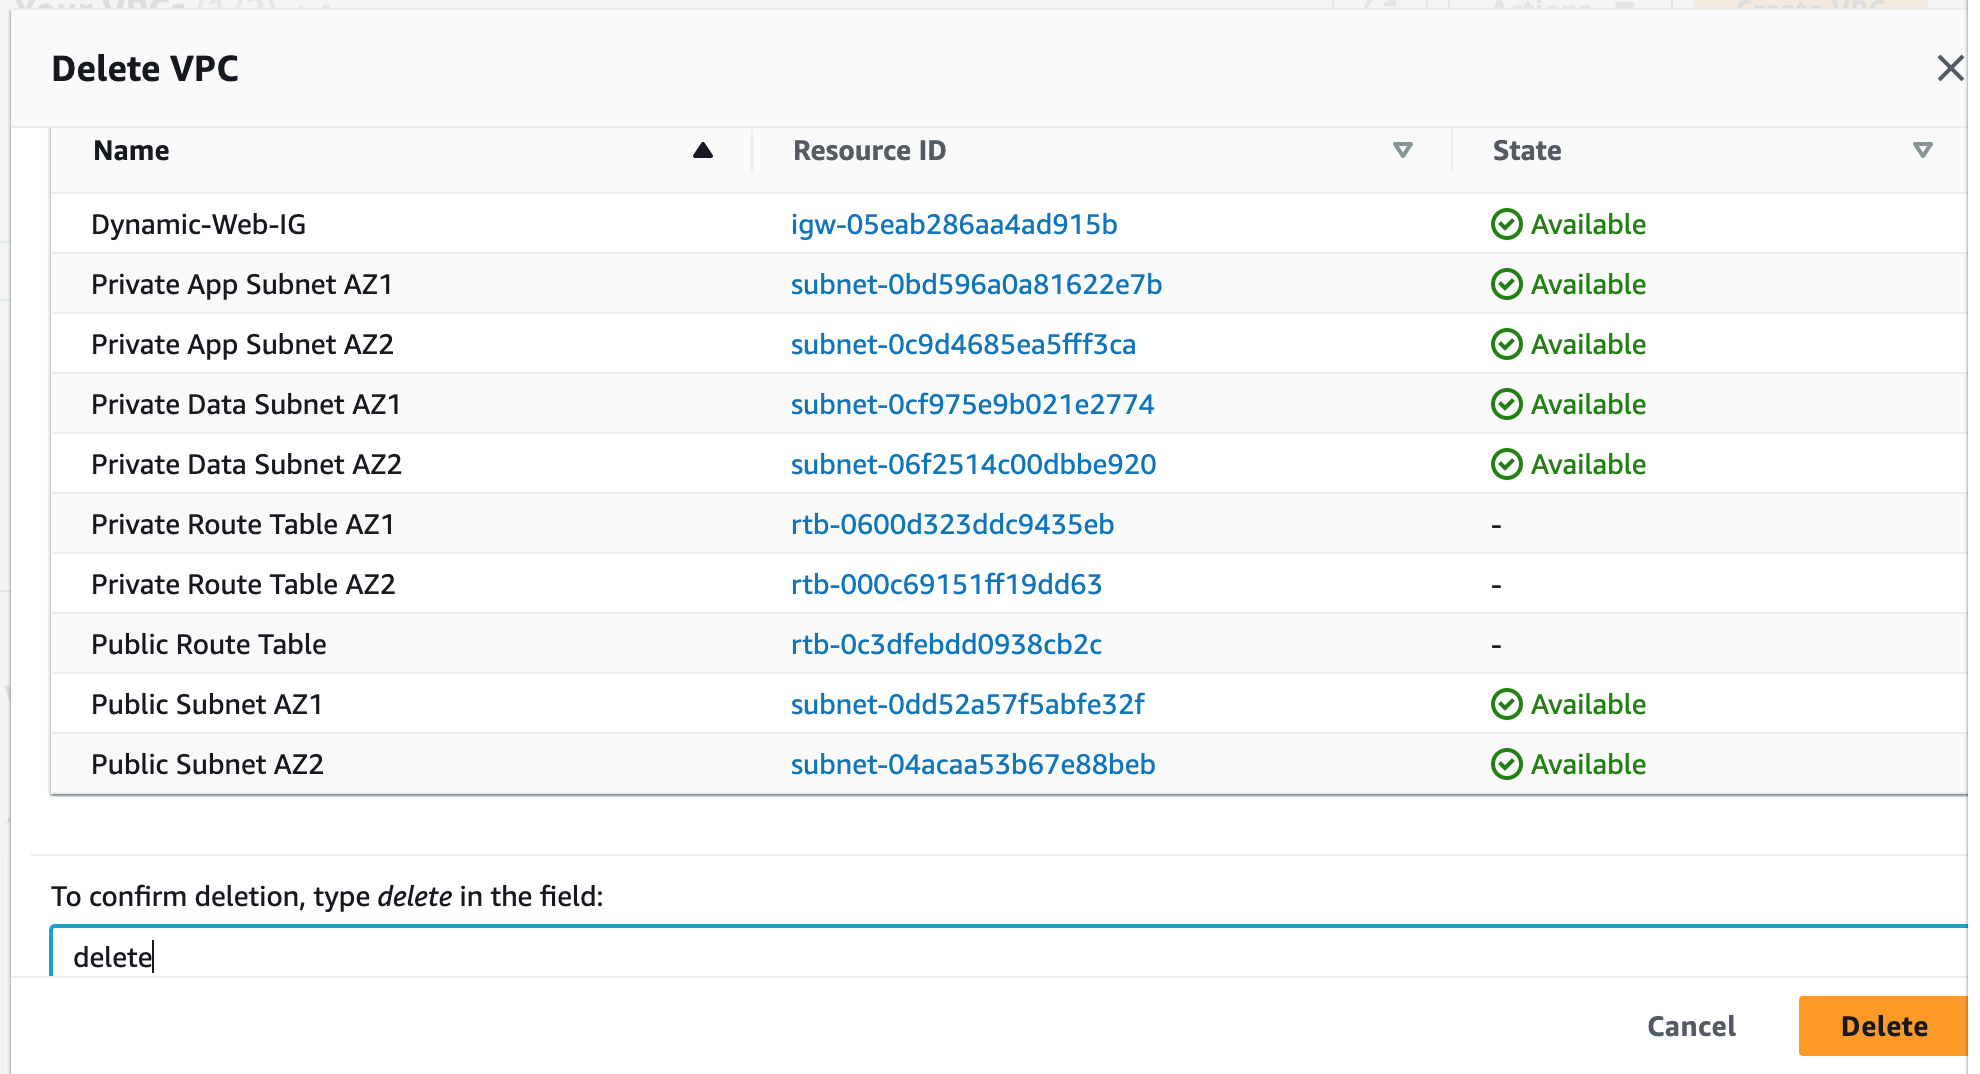
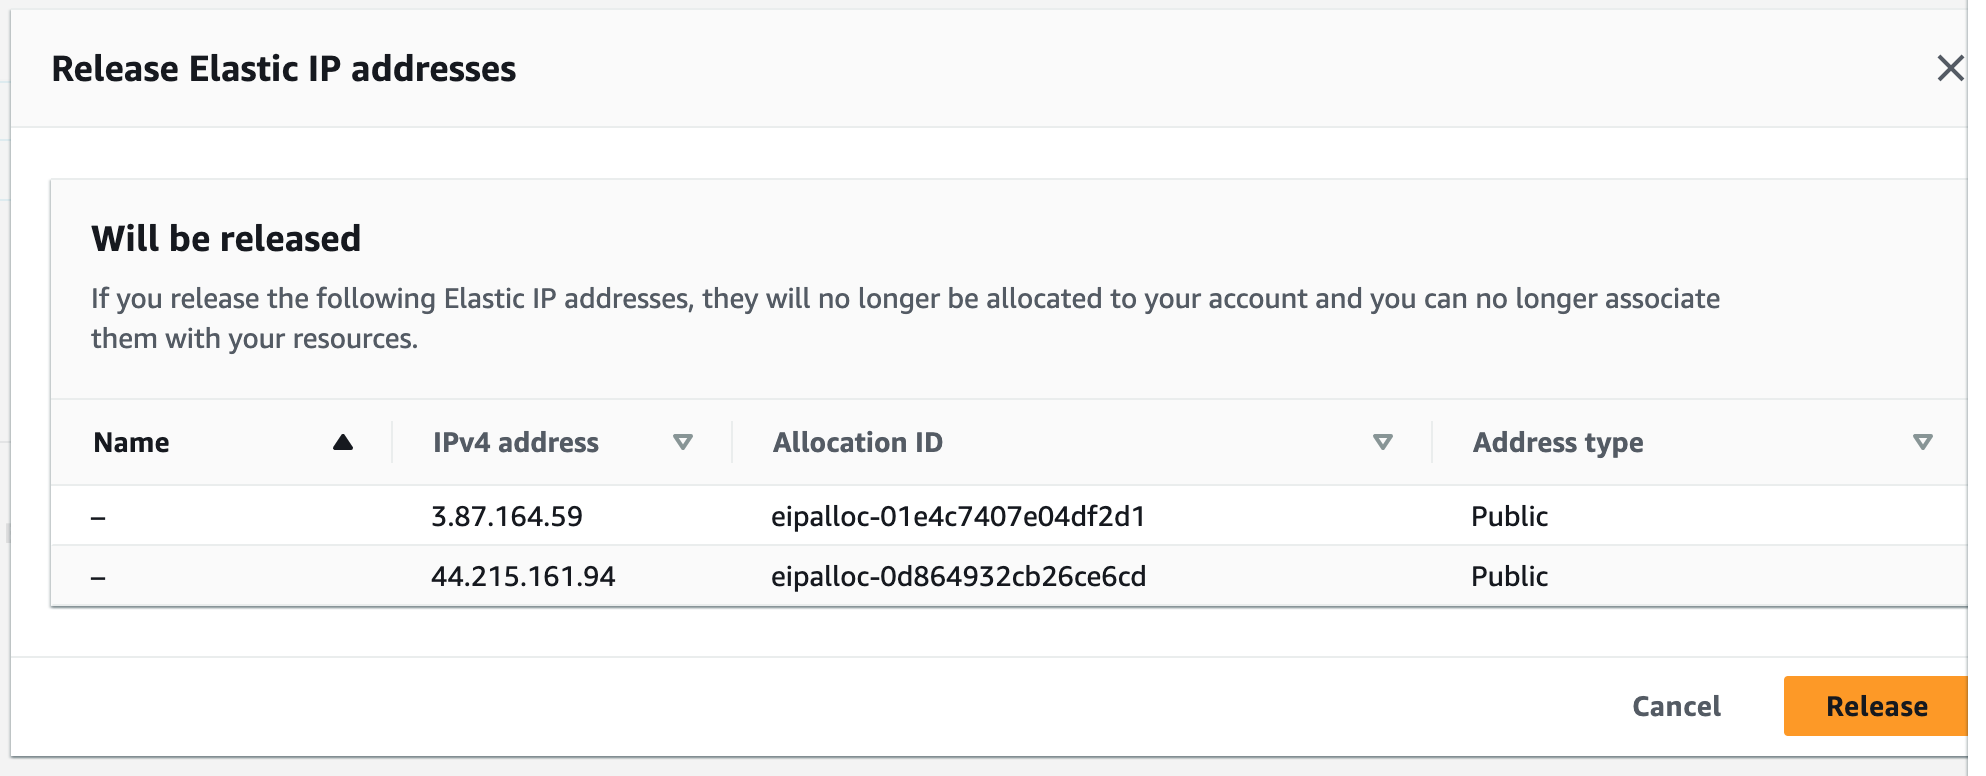
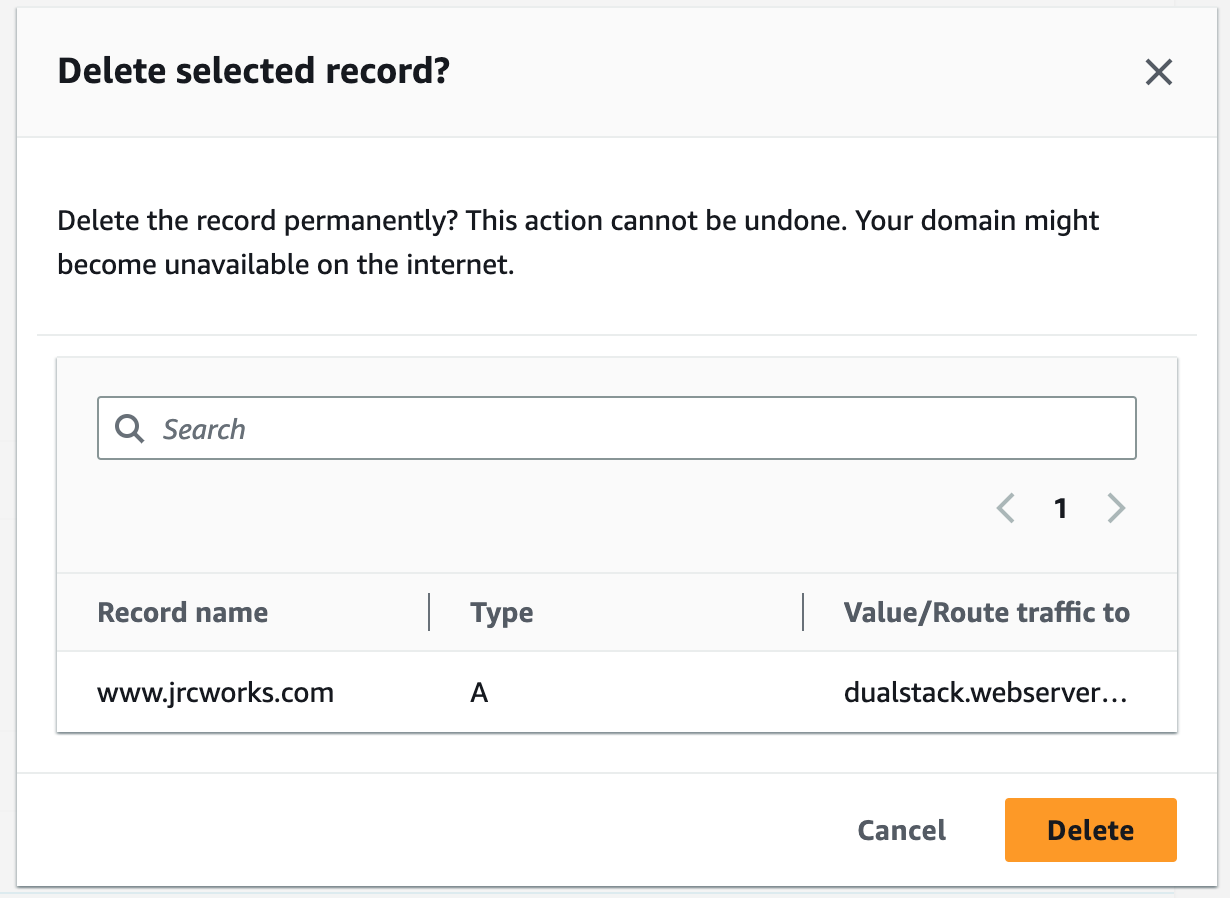
To complete this project, we will delete the resources we created to avoid unwanted charges. This includes our ASG, launch templates, ALB, target group, RDS, bastion host, security groups, NAT gateways, AMIs, snapshots, VPC, elastic IPs, S3 bucket, S3 IAM role, and record sets.